How to pay your payables/bills

After creating a record of your payables or bills, it is now time for payment.

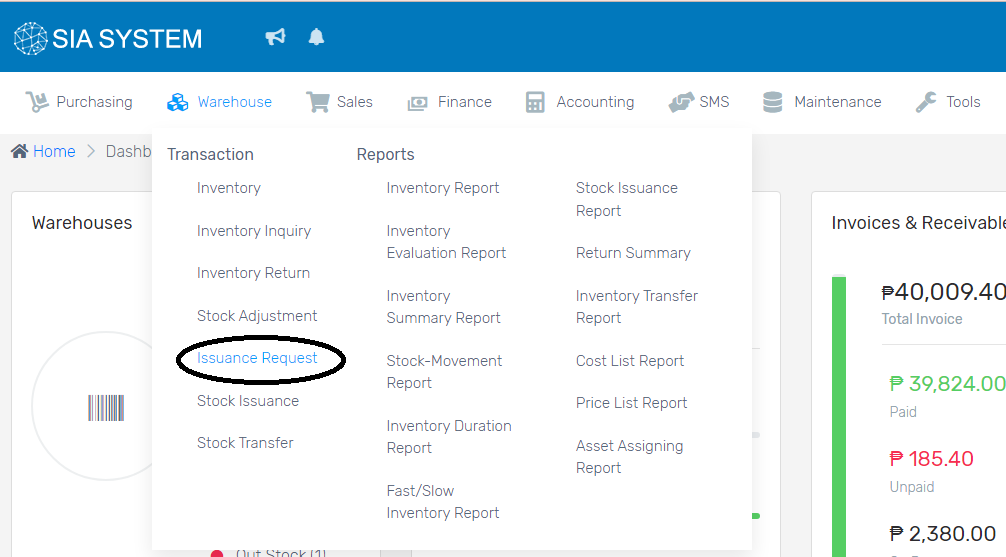
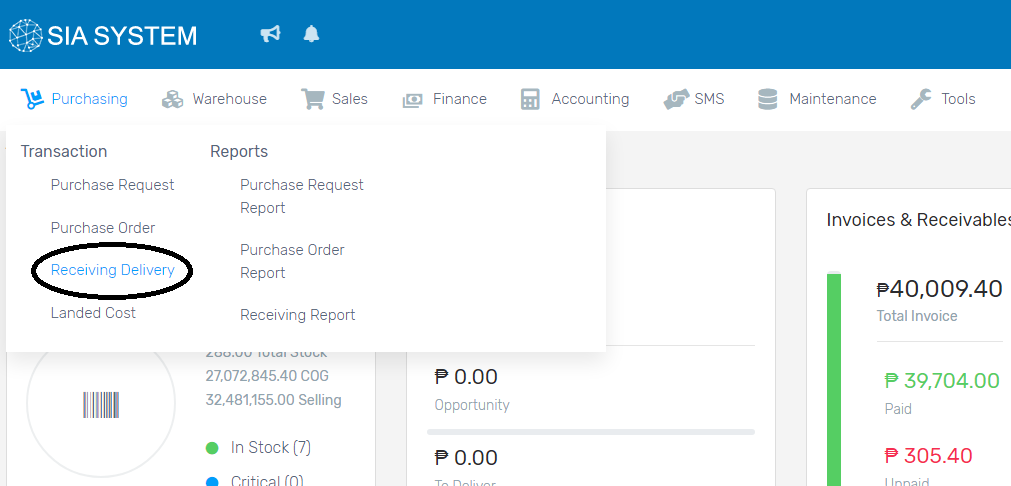
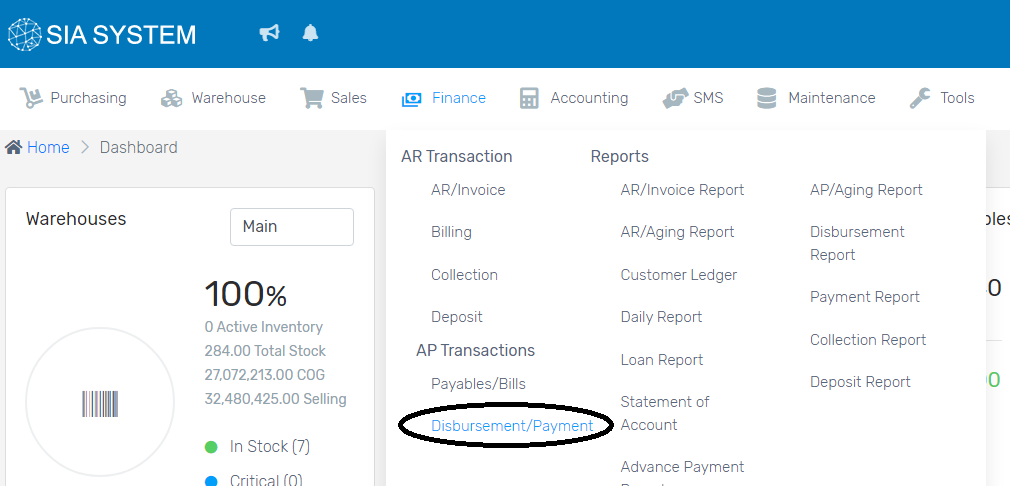
  1. On the Finance tab, select Disbursement/Payment.

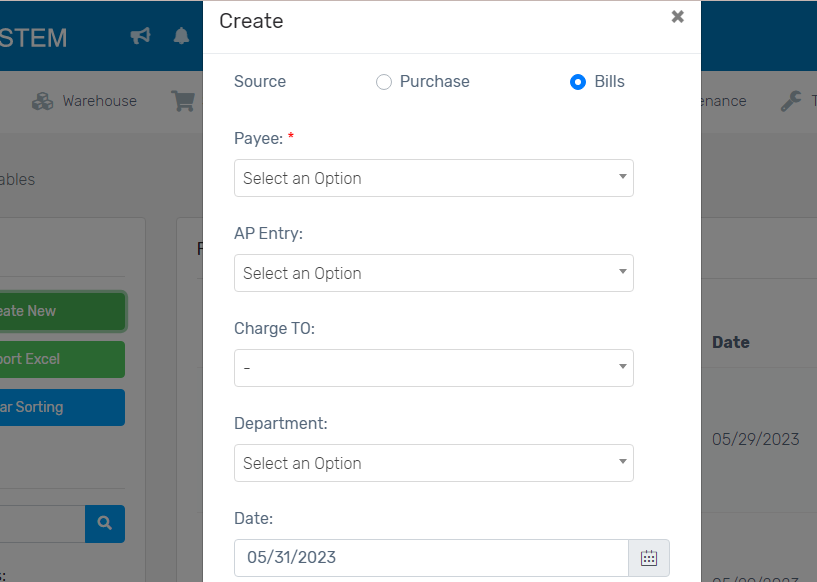
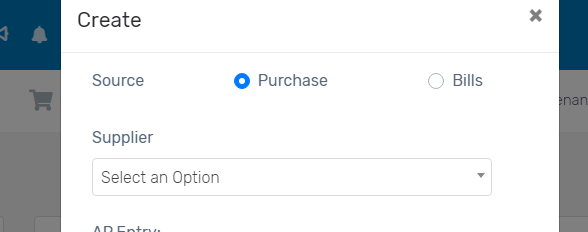
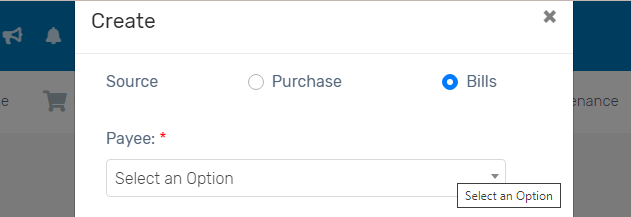
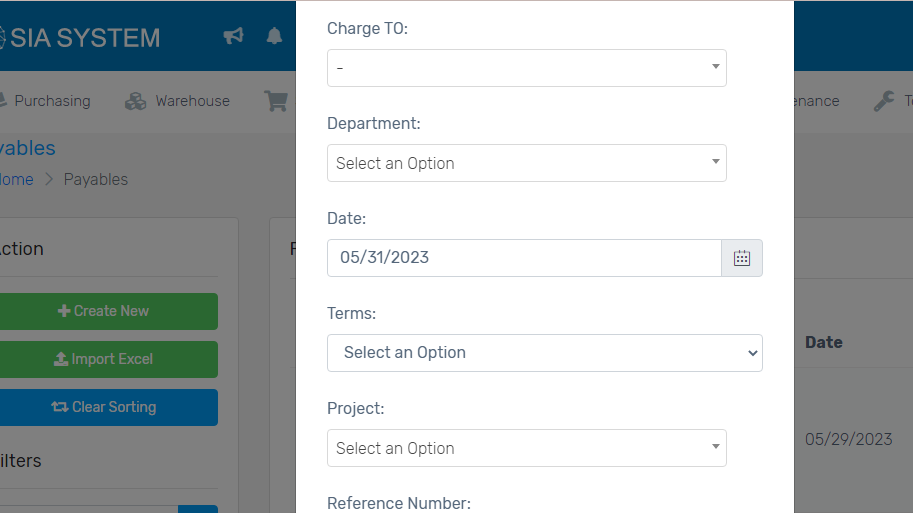
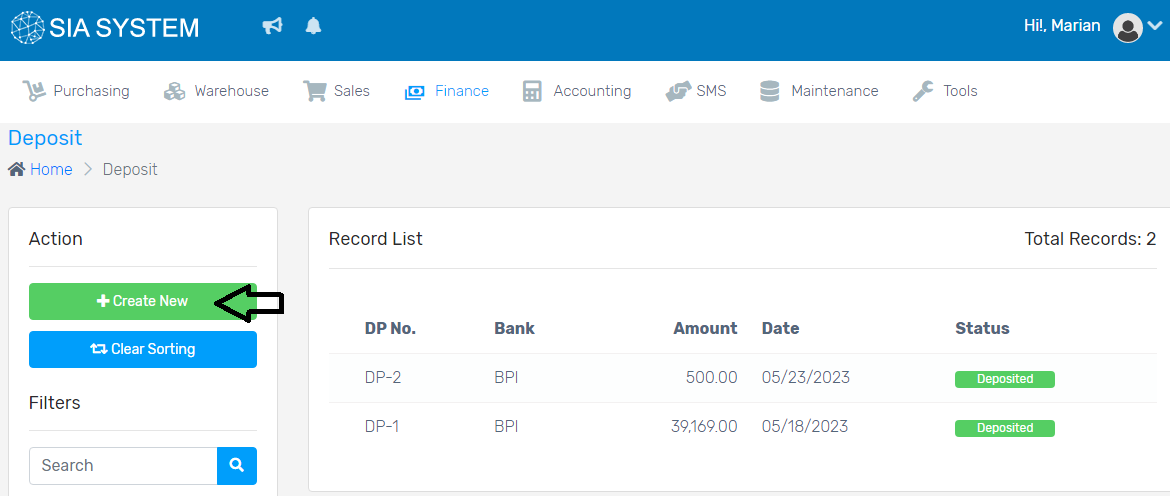
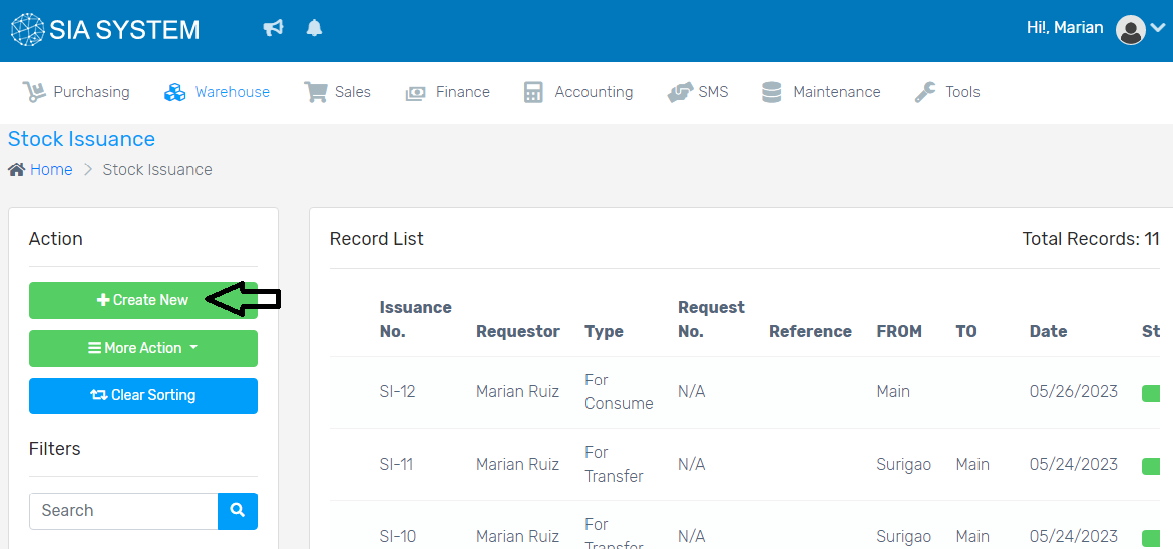
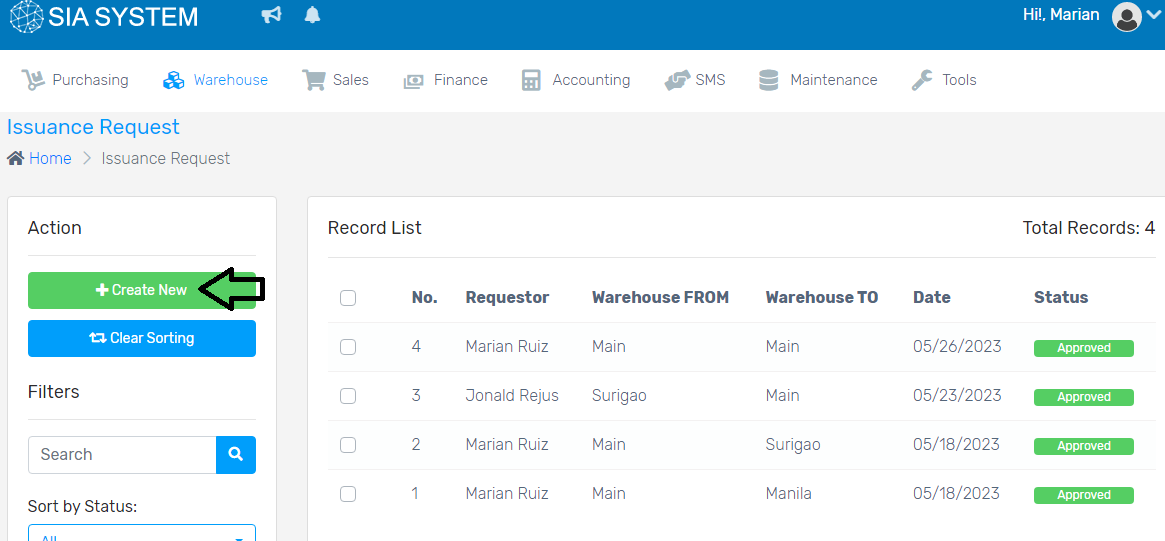
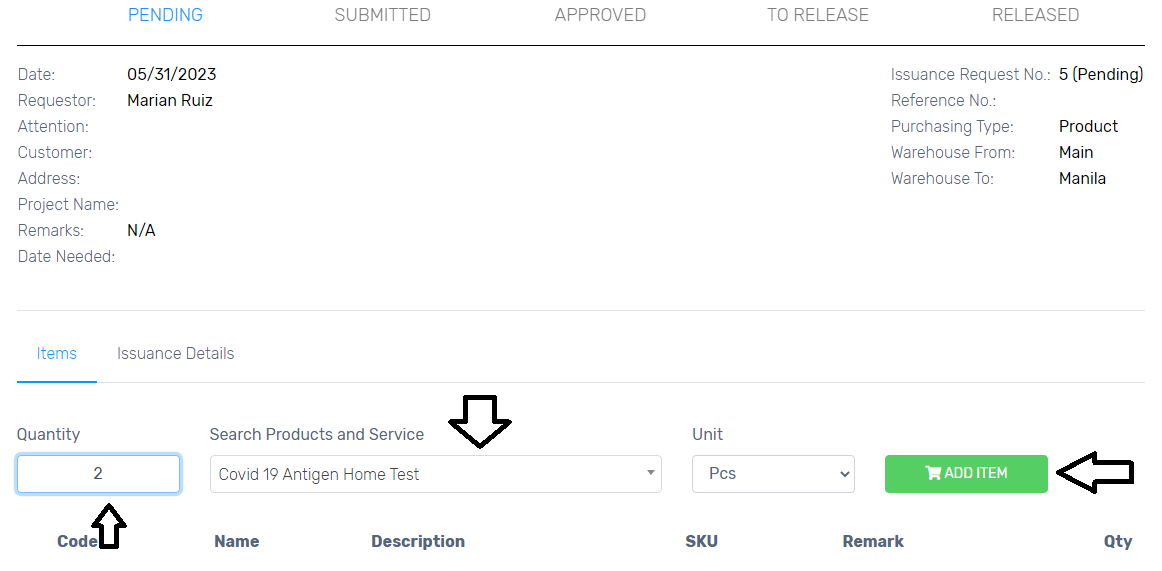
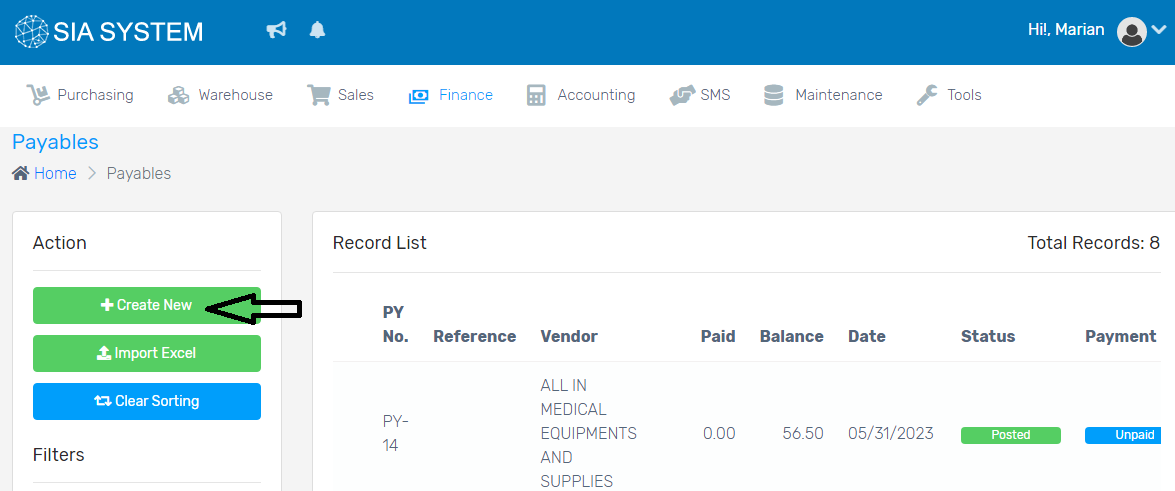
2. In the Create New button, add the payable you want to pay.

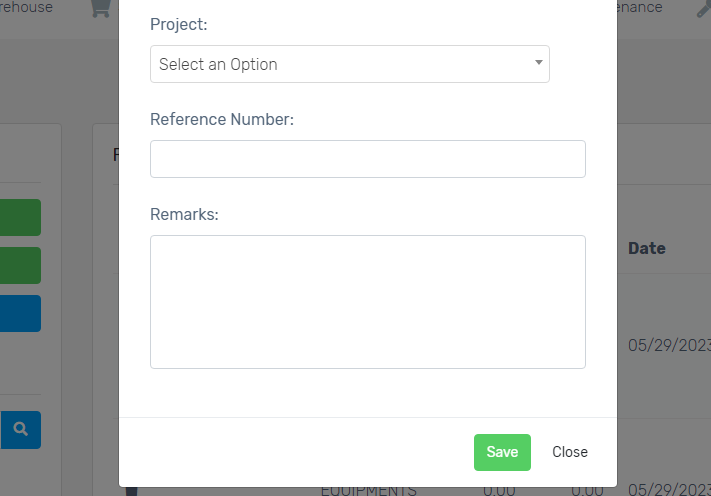
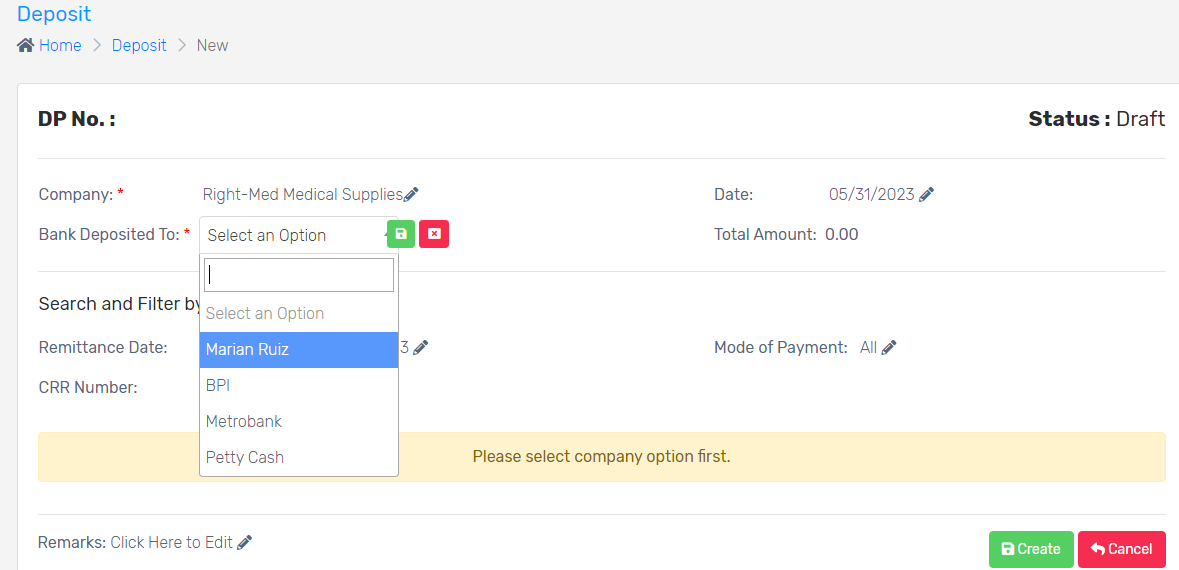
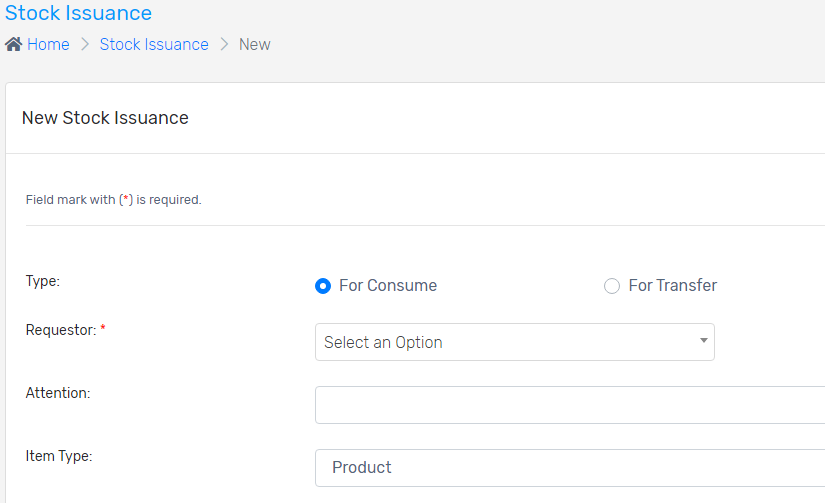
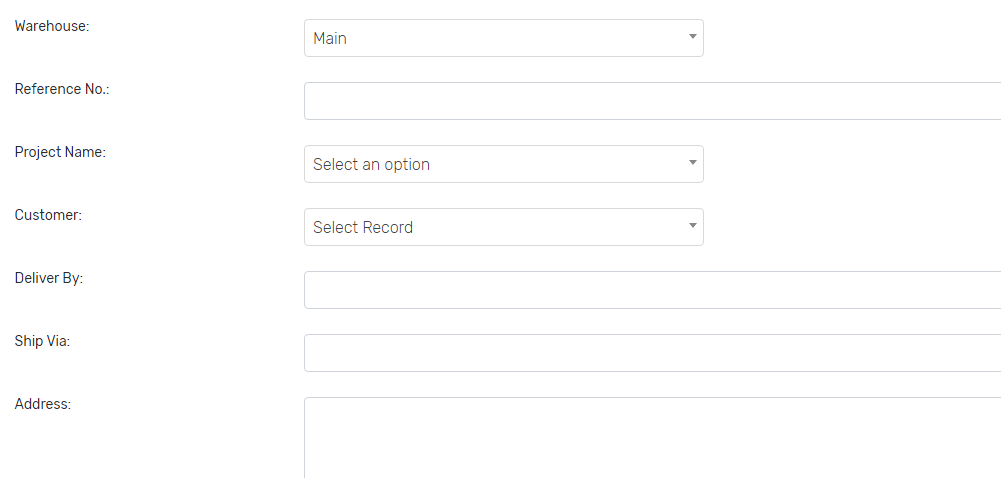
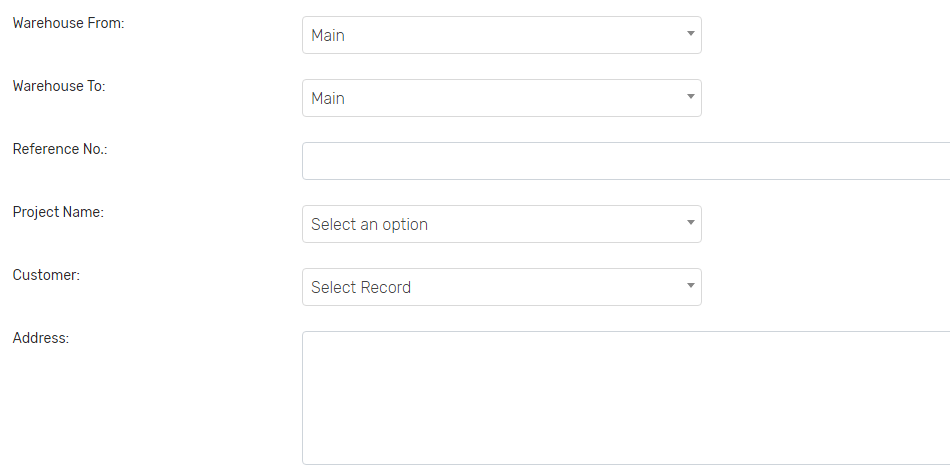
3. Input the Bank Account and Payee first. On the Bank Account, select where do you want to get the disbursement. Select the Type of payment; whether it’s regular or advanced. Next, select the Payee or the Supplier you want to pay. Remember to always click Save or the green button every after selecting. Fill out the other details, if necessary.

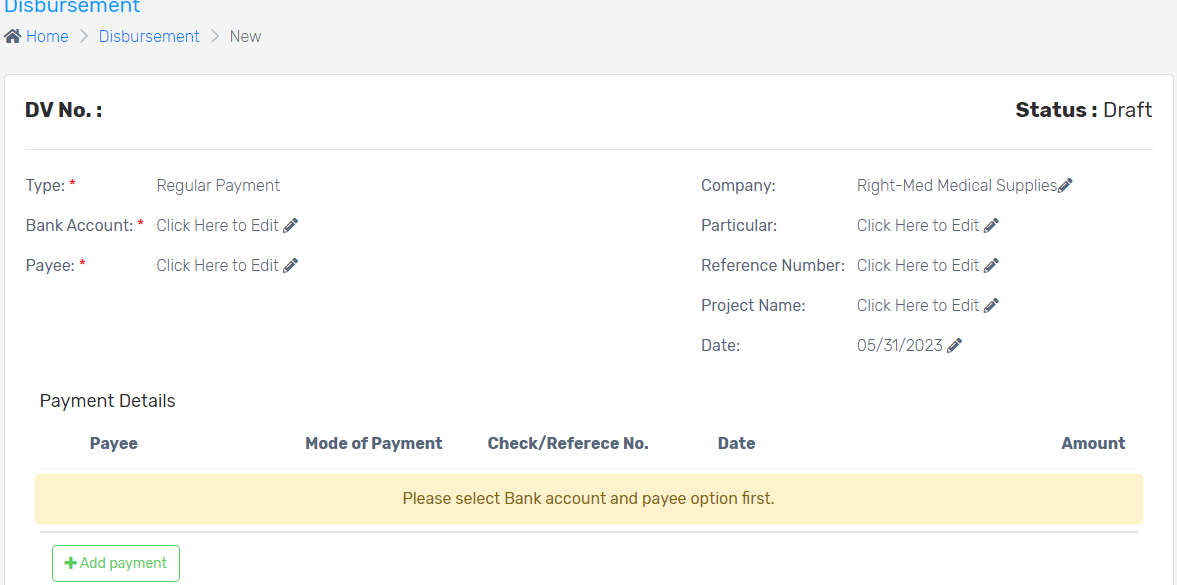
4. On the Payment Details, select the Mode of Payment. If through Check, input the check booklet or check number with the exact date.

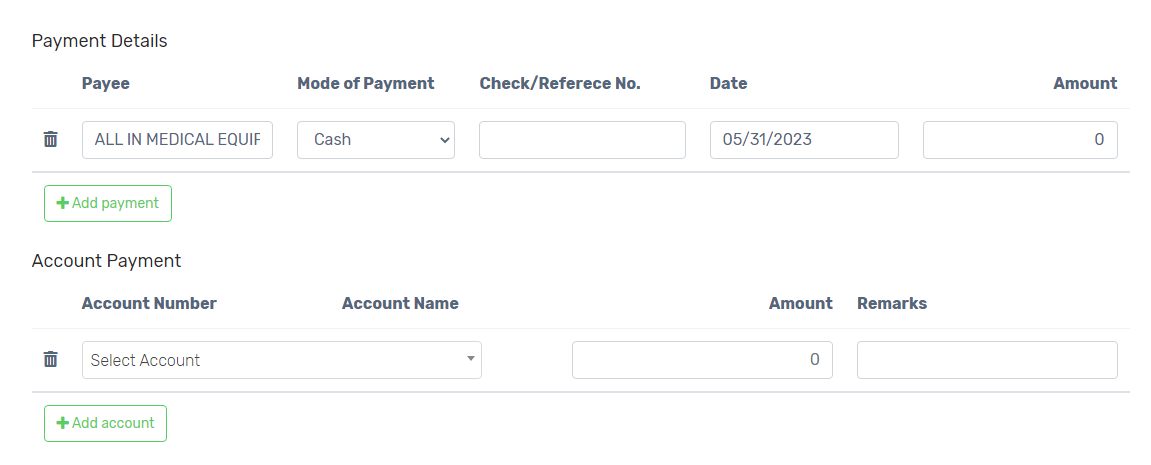
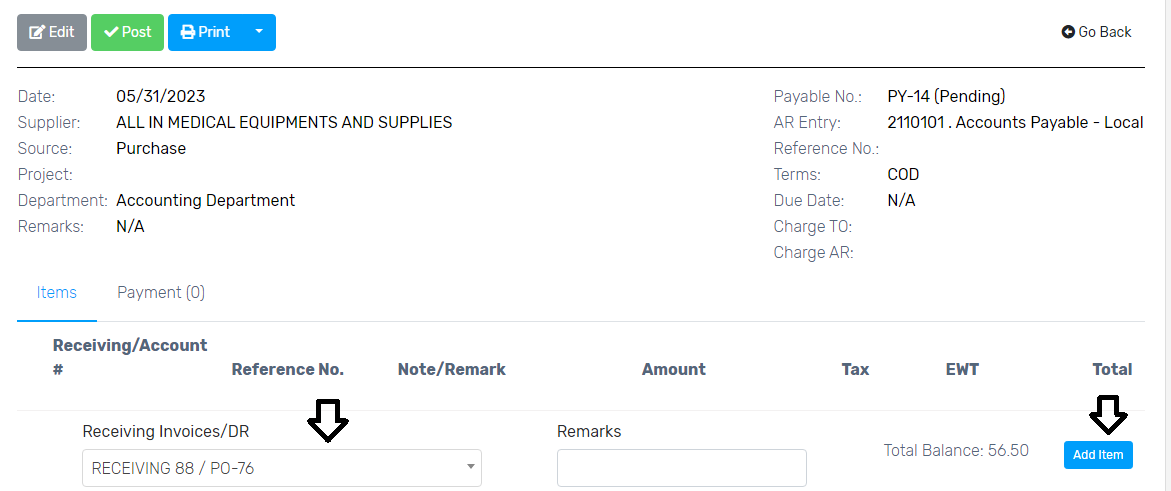
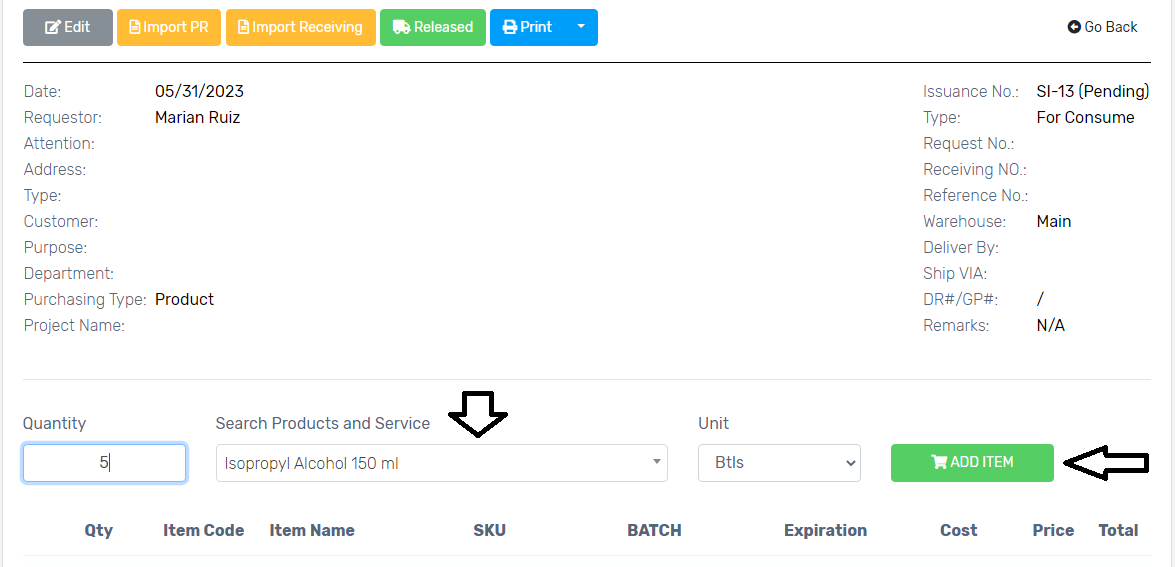
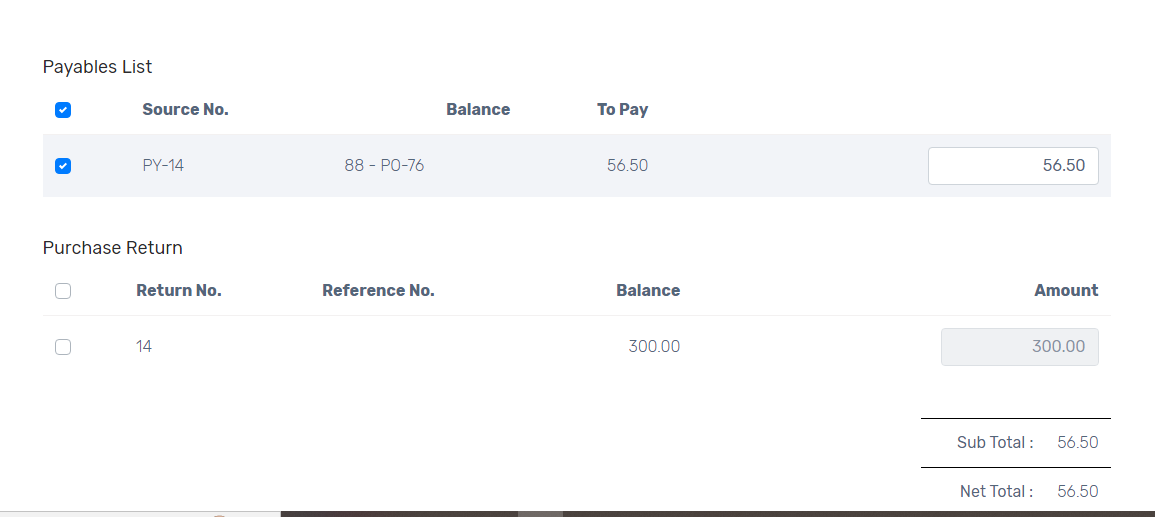
5. Type the Amount manually. Scroll down to check your total payable.

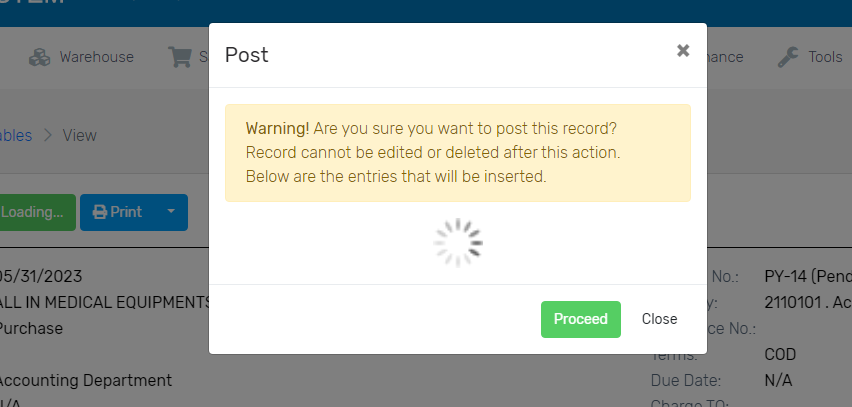
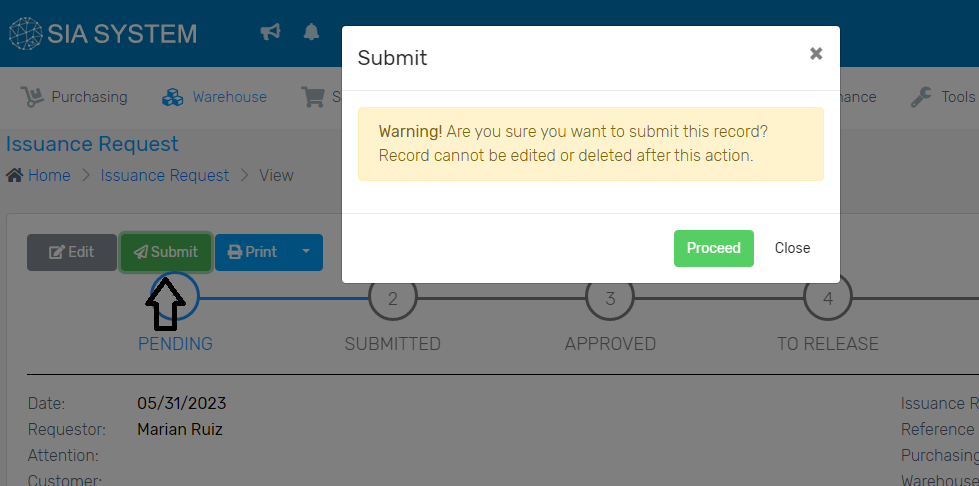
6. Once done, click Create. After reviewing your data, click Post then Proceed.

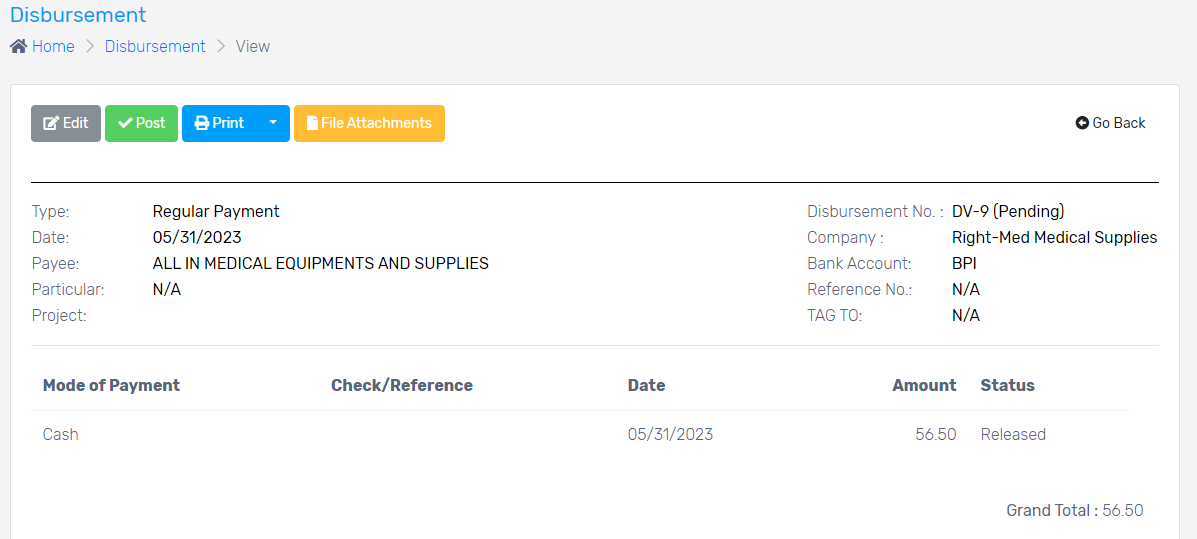
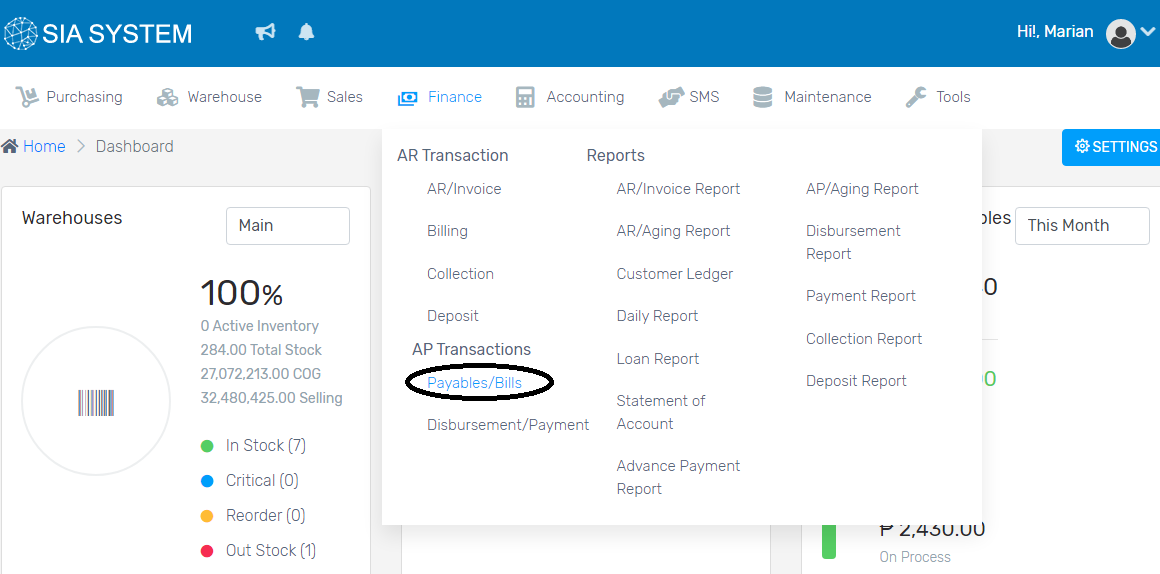
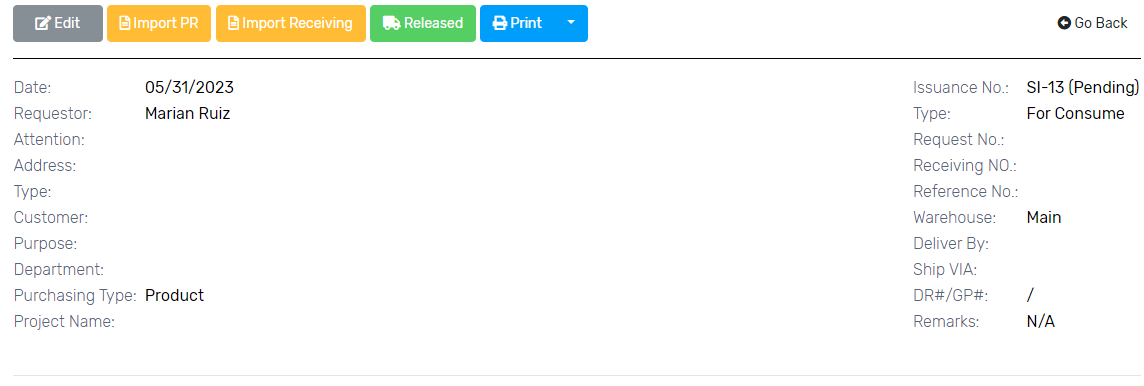
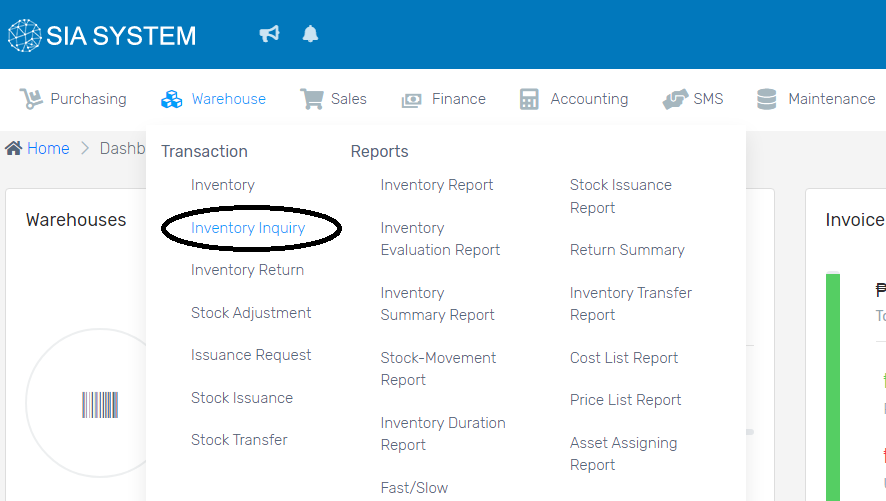
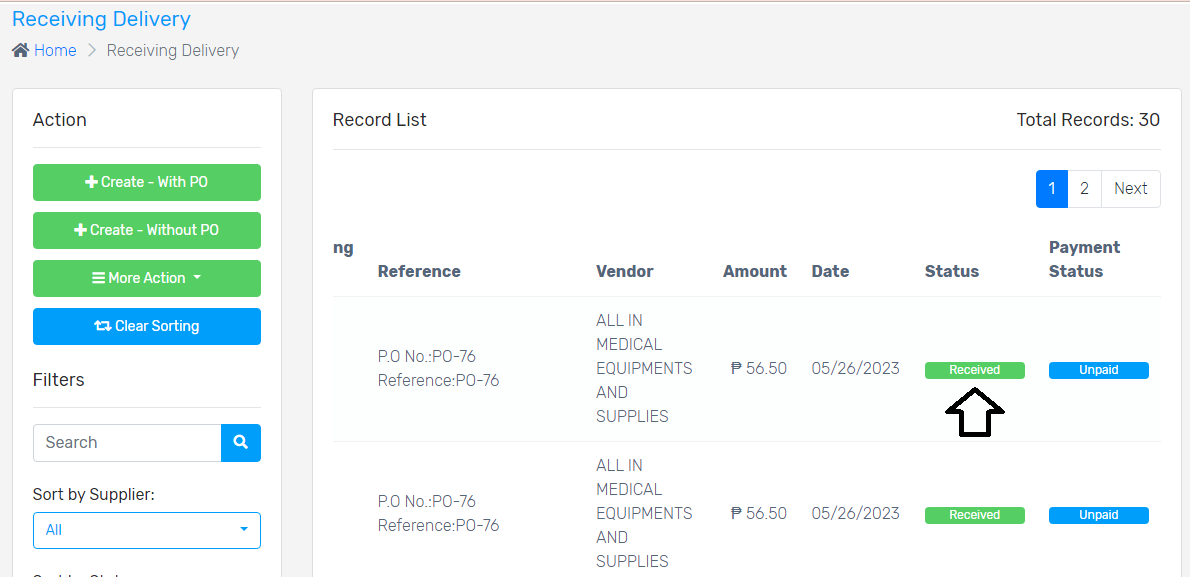
To check the status of your payment, click PAYABLES/BILLS. Make sure that it is marked PAID.

How to add record of your payables/bills

After deliveries have been fulfilled by your suppliers, you can now record it on your payables. Refer to your Delivery Receipts for fast and accurate recording.

  1. On the Finance tab, choose Payables/Bills.

2. Click on the Create New button. Select the SOURCE you want to pay. If the payment should be done out from your purchase, click PURCHASE. If you will pay for your bills, select BILLS.

3. Select the Supplier on the dropdown for purchases, and Payee for the bills.

4. Choose where to Charge the said payment. Leave it blank if not necessary. Select the designated Department. Don’t forget to add the Terms. It will serve as the days of when the payment should be made.

5. Add the Reference number or the Delivery Number. Add remarks if necessary. Once done, click Save.

6. On the new tab, select the Receiving DR. The total balance will then be displayed. Check if it tallies with the printed delivery receipt. Once cleared, click Add Item.

Note: If you are creating multiple records of DR, repeat the process until you are completed.

7. Click Post when done. A journal entry will appear and Proceed for posting.

Now, your payables/bills are already posted.

How to deposit a collection

After collecting the payment of your customers, it’s time to deposit it to your bank account to keep track of the payment.

  1. On the Finance tab, select Deposit then click Create New.

2. Choose the Bank where you want to deposit the payment. All the collected payments are automatically displayed. Check if complete, then Create to proceed.

3. Post it once done, then Proceed.

Now, your collection is deposited and reflected at your bank’s record.

How to issue stocks

Once an issuance request is made, you can now create a record of stock issuance.

  1. On the Warehouse tab, select Stock Issuance.

2. Click Create New button to add a new record.

3. Select For Consume and choose the name of the requestor in the dropdown.

4. Input where the stocks will be issued on the Warehouse field. Then fill out all the necessary details. Click Save once done.

5. On the new tab, search for the Product/stock you want to issue. Add the Quantity. Then click Add Item.

6. Review all the items and click Release if done, then Proceed.

To cross-check if there is a movement of stocks, you can check it in INVENTORY.

How to create issuance request

Sometimes, a company issues stocks to another warehouse of department for consumption. To track the movement of the inventory, it is also important to keep a record of this issuance.

  1. On the Warehouse tab, click Issuance Request.

2. Click Create New button to add a new record.

3. Select the name of the Requestor.

4. Choose from the Warehouse where you want to get the product to be issued, and where you want to issue it. Fill out all the necessary details then click Save.

5. On the new tab, search for the product you want to issue, as well as the quantity. Once done, click Add Item.

6. Submit the record, then PROCEED.

7. Go back and check the status of your request. Once approved, you can now proceed to STOCK ISSUANCE.

How to know the details of the product

If you want to know the details of a certain product, you can just look for it in the INVENTORY INQUIRY section.

  1. In the Warehouse tab, click Inventory Inquiry.

2. Type in the product you want to search. Then click the green button on the right.

3. The product details of that certain product will show. Click the Green Button if you want to generate a barcode. Click the Blue Button to show the inventory movement of that product.

How to receive delivered items with Barcoding

Barcodes encode product information into bars and alphanumeric characters, making it much faster and easier to receive delivered items or track inventory in a warehouse.

  1. On the Purchasing Tab, click Receiving Delivery.

2. Click More Action then choose BARCODING.

3. If the items delivered has a PO, just choose the PO number then click SCAN. The details of that PO will be shown, including the items purchased and its quantity.

4. Scan the barcode of each item and its barcode will automatically display.

In case the item doesn’t have a barcode yet, you can generate its barcode through Product/Inventory Inquiry.

  1. Just copy the Product Code located at the right side of the dashboard.

2. On the new window, click Warehouse then choose Inventory Inquiry.

3. Paste the Product Code and click the Search button. The details of that product will then be displayed. Click the Green Tab or the Barcode.

4. Click Generate, then Enter. Now the item already contains a barcode.

5. Scan it again then proceed to the next step. Note: Don’t forget to click ENTER every after scanning.

6. Once all items are scanned, click Create Receiving.

7. Enter the Reference or the Delivery Receipt. Click Create and Print. You can now print your receiving delivery, as necessary.

8. Lastly, click GO BACK and always check for the status of the delivery.

  • FULLY RECEIVED – received all the items purchased
  • PARTIALLY RECEIVED – some items are not delivered

If items were partially delivered, just follow the same process stated above and only input the actual items you received. Go back with that transaction until all the items are fully received.

How to set-up users audit

In this section, you can view all the system user’s activity by generating an activity log report.

  1. Go to Maintenance tab, select Users Audit.

2. Type in the date of the Report Type.

3. Select the staff you want to audit. Click Generate to view the activity log report.

How to set-up taxes

Every business must file returns and pay taxes at the state where it transacts business. Your business is responsible for collecting taxes paid by others and remitting those to the government. Thus, keeping a record of all taxes in each transaction is essential.

  1. Go to Maintenance tab, select Taxes.

2. To add a new type of taxes, click the Create New button.

3. Input the Tax Type, Vat Tax Code, and tick the check box for TRANSACTION and TAXPAYER CLASS. Click Save once done.

How to set-up group price

Group pricing is also important in any businesses especially if you’re into selling of goods or products. It’s a technique that suppliers do when selling items in bulk to increase demand on their products. To properly record prices on bulk items, one must create a Group Price for fast and smooth transaction.

  1. Go to Maintenance tab, then select Group Price.

2. Add a group price by clicking the Create New button.

3. Input the NAME and the DESCRIPTION. Then click SAVE.