Setting up a slot for your customer orders helps you to plan delivery or schedules and fulfill each order on time, according to customer requests and the efficiency of your operations.
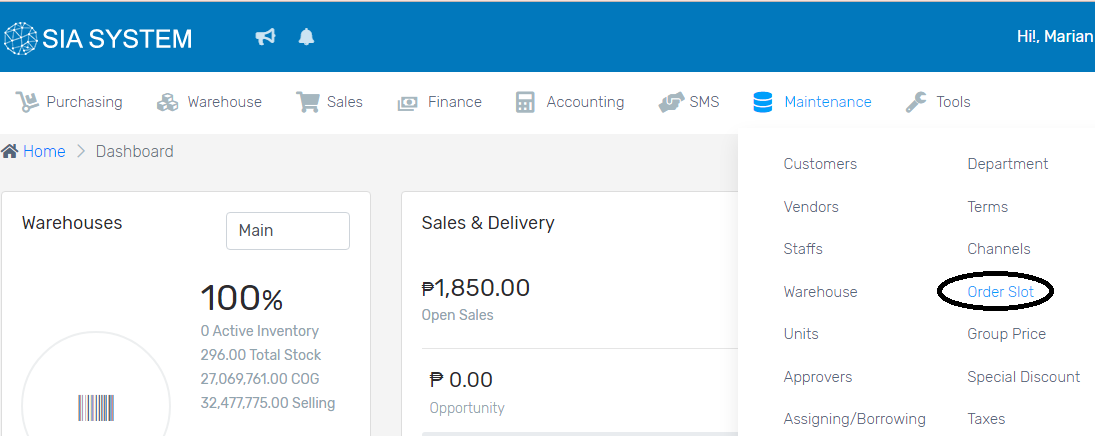
On the Maintenance tab, select Order Slot.
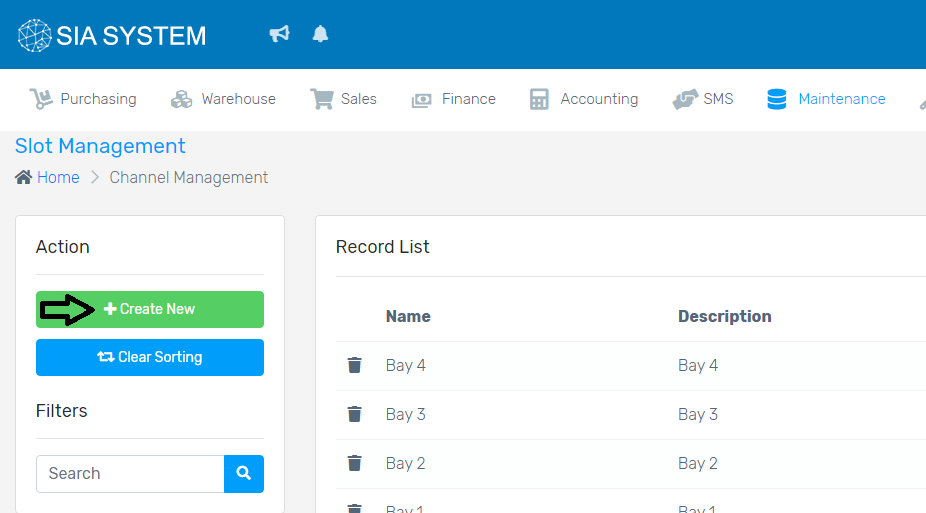
2. Click Create New button to add an order slot.
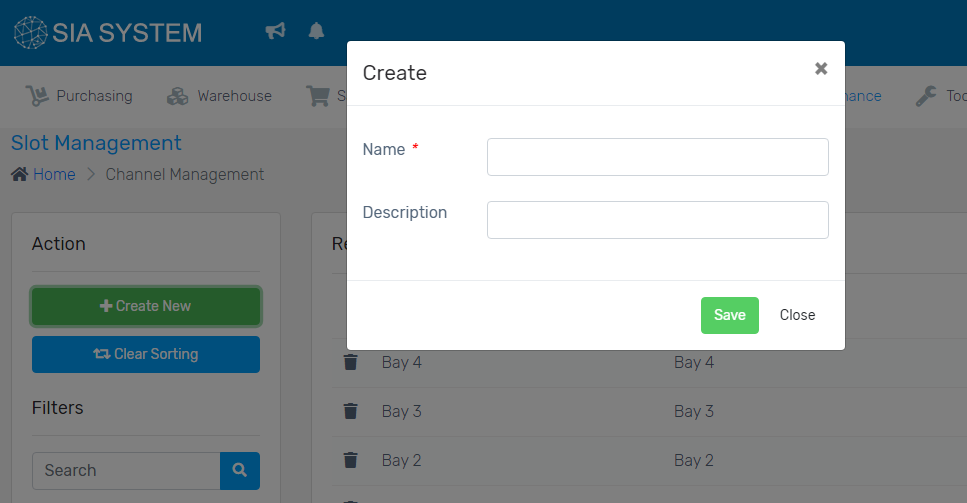
3. Create Slots depending on the number you want. Input the Name and description of each slot. Click Save once done.
Some businesses have different channels where they make goods and services available for use by consumers. It is also important to keep a record of all your channels.
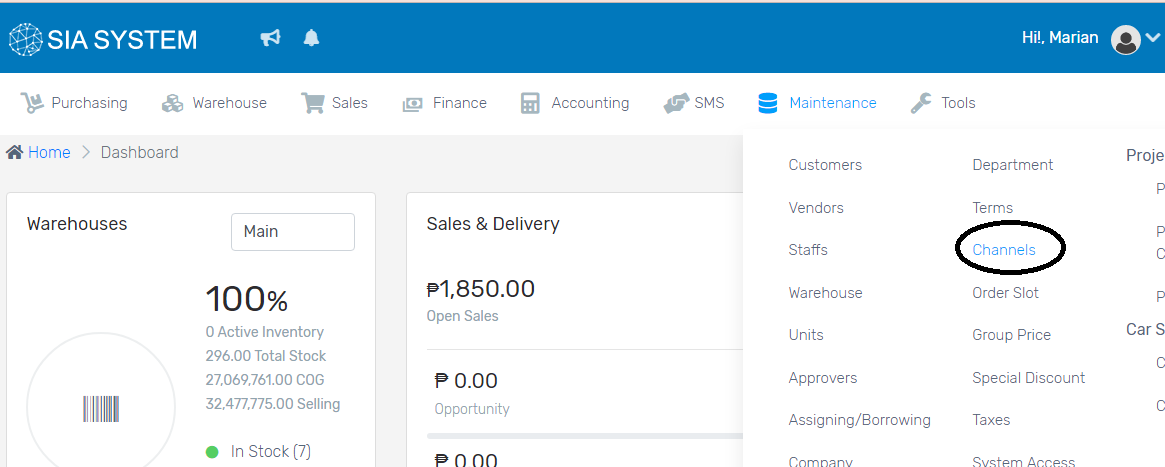
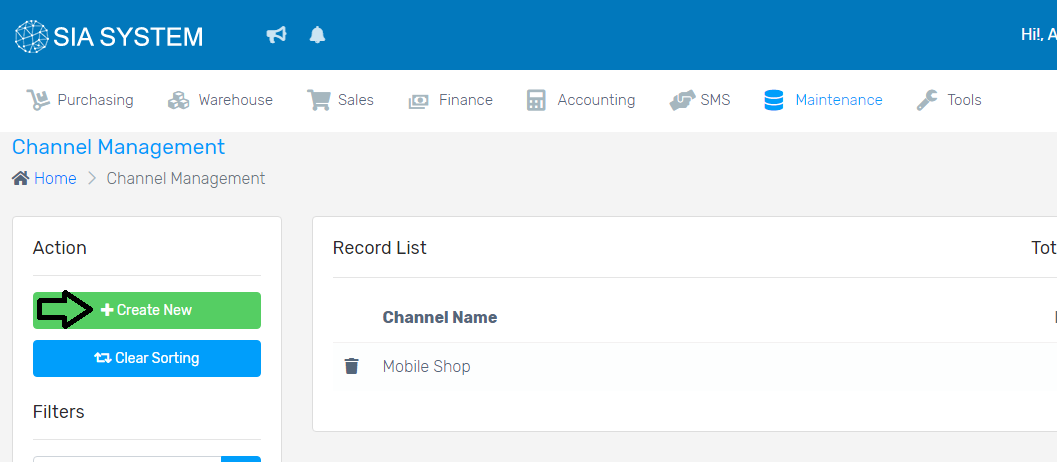
Go to Maintenance tab and select Channels.
2. Click the Create New button to add new record.
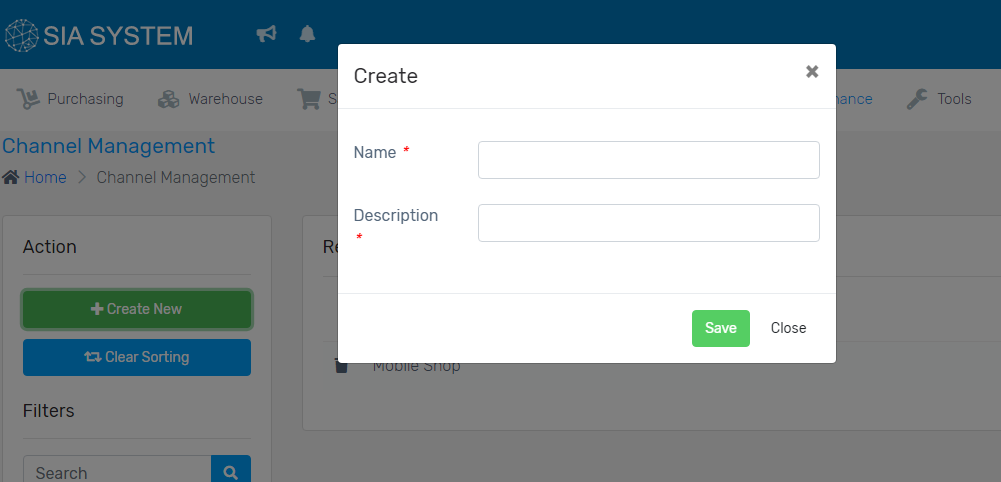
3. Input the Name and Description of the channel. Click Save when done.
Businesses often have several departments that perform unique functions, allowing them to operate efficiently and successfully. Departments therefore should be recorded in the system for better tracking of transactions in every department.
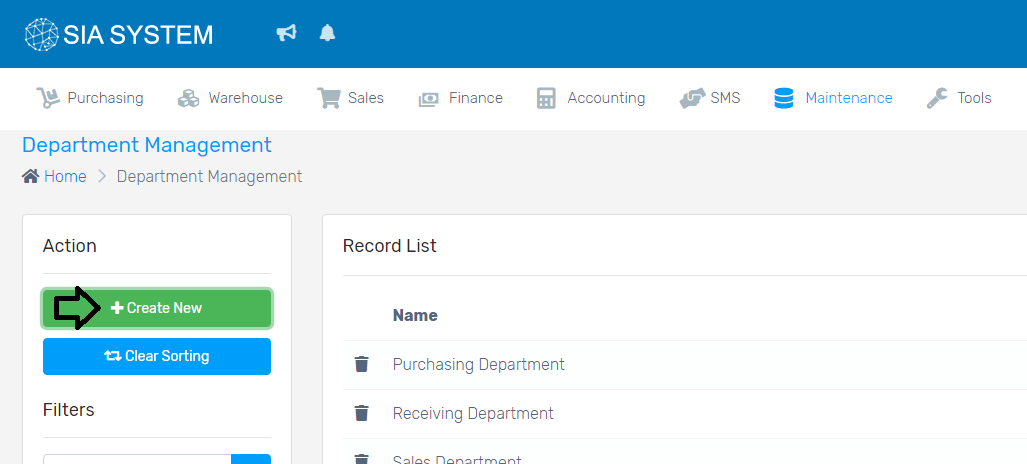
On the Maintenance menu, select Department.
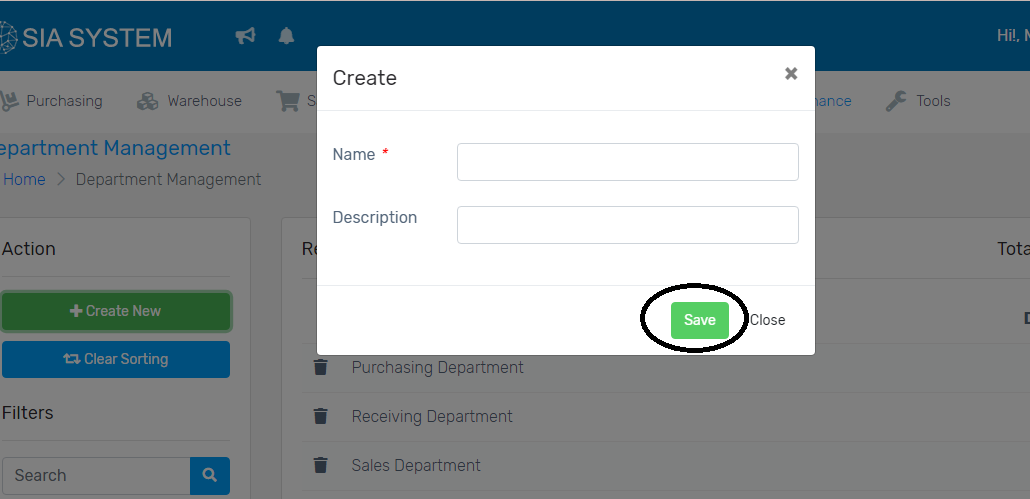
2. Add all your company’s departments by clicking the Create New button.
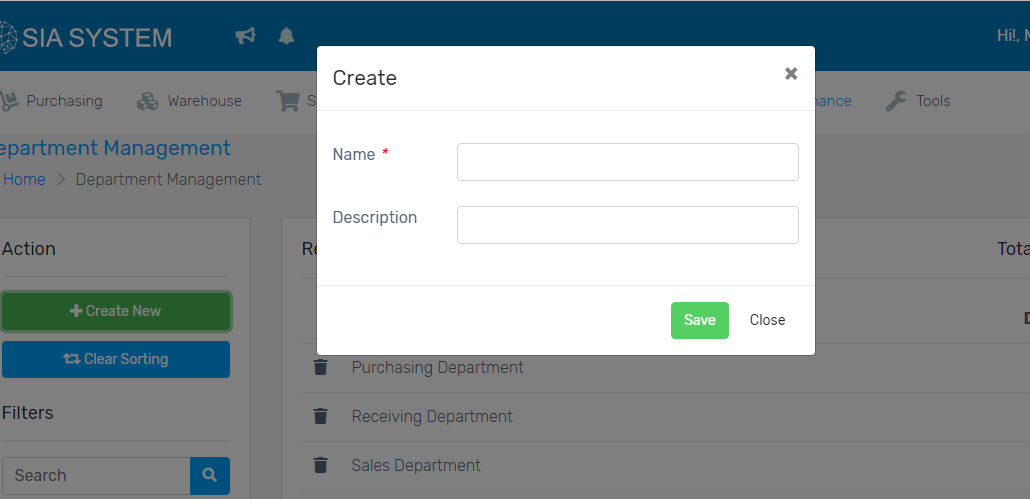
3. Input the Name of the department and its description.
4. Click Save once done. Repeat the process for other departments.
If your company contains different online stores, you can manage it through store management. Keeping track of your channels is important to track your sales record.
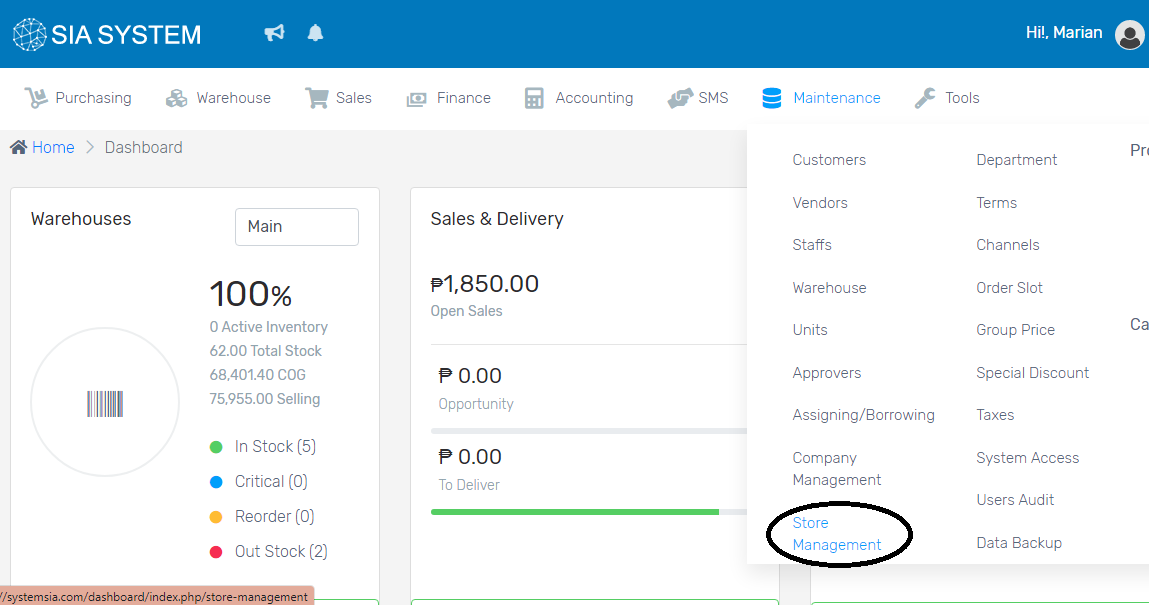
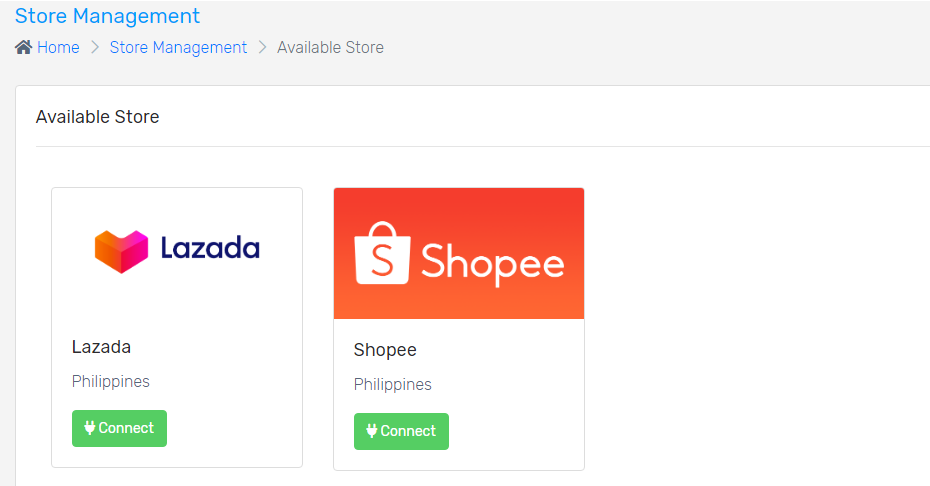
On the Maintenance tab, select Store Management.
2. Connect your online links such as Shoppee or Lazada.
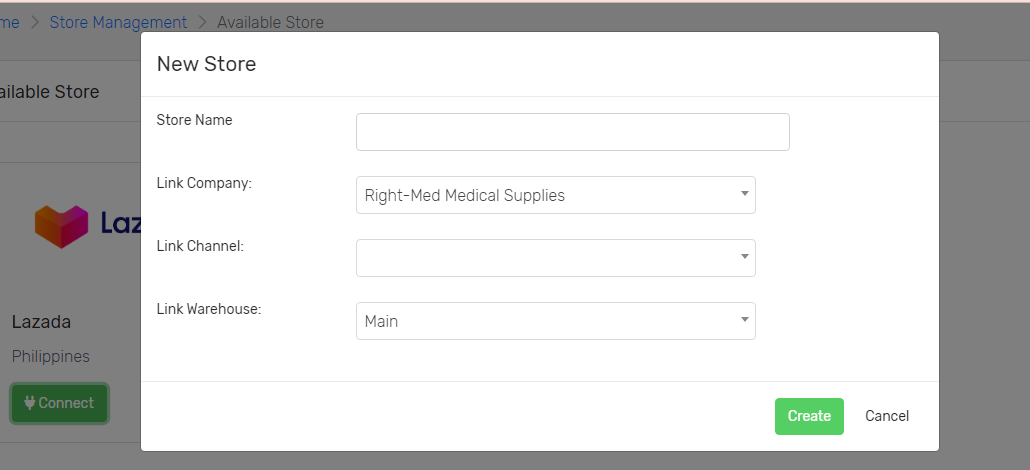
3. Input all the necessary details to connect your information. Click Create once you’re done.
All businesses assign each staff who plays a significant role in every department. To keep track of who is using the system, it is important to create a staff record.
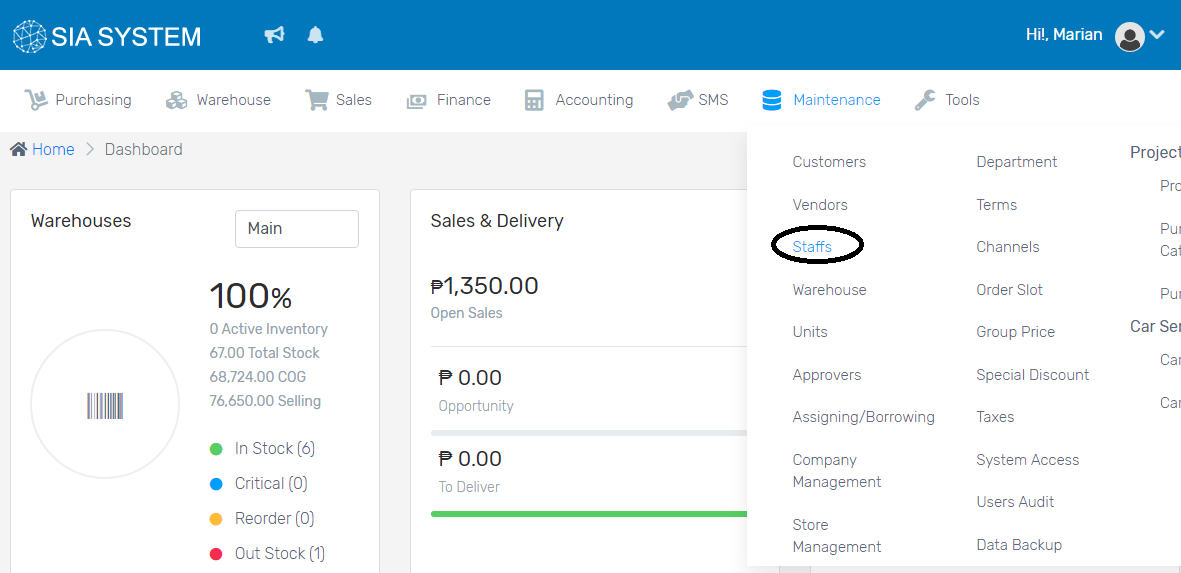
On the Maintenance tab, select Staffs.
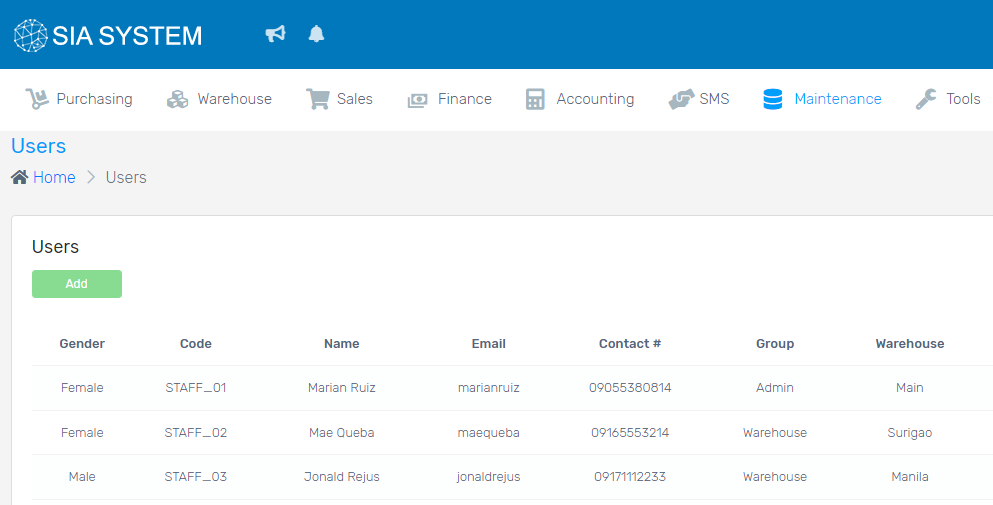
2. Add users by clicking the Add button.
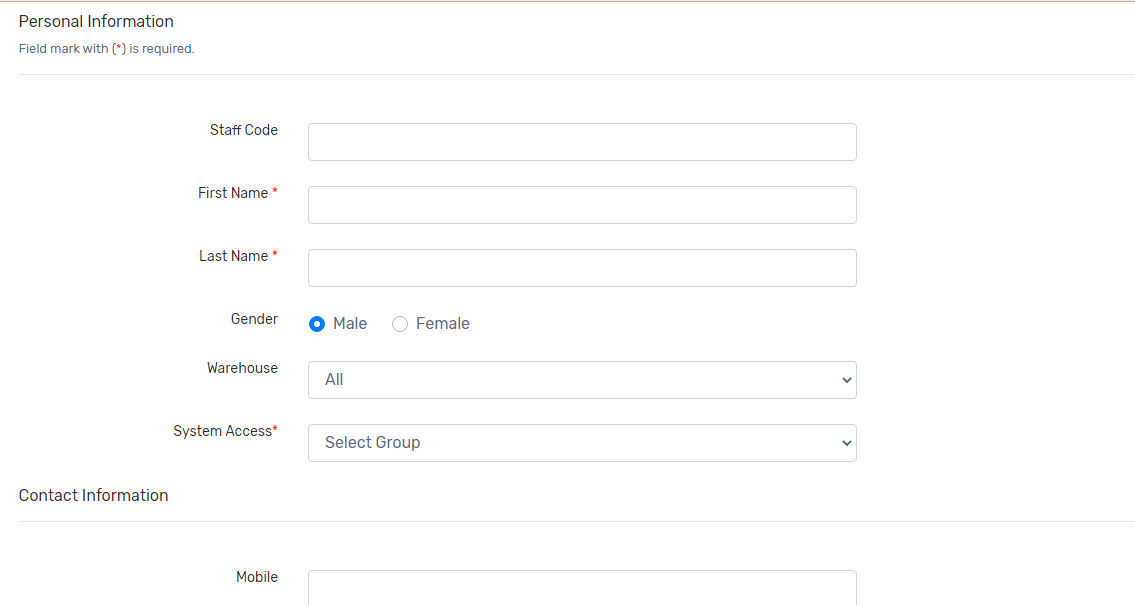
3. Manually input all the details, including the Staff Code and the warehouse they are assigned.
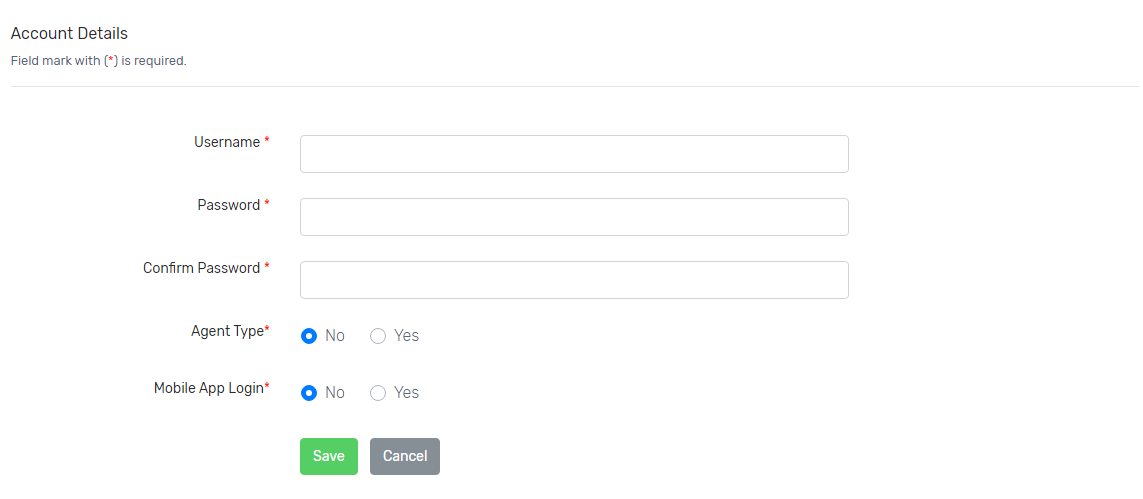
4. Make sure to also input the Account Details, with their username and password. Click Save once done. Repeat the process for another record of staffs.
1.On the menu, click Purchasing and select Receiving Delivery.
2.Click to create new and Select the required details, Supplier, Purchasing type, Company, and Date. Once done, you can now add a product.
3.Click Add new item button to add items to your order. Once done, click the dropdown and select the item to purchase.
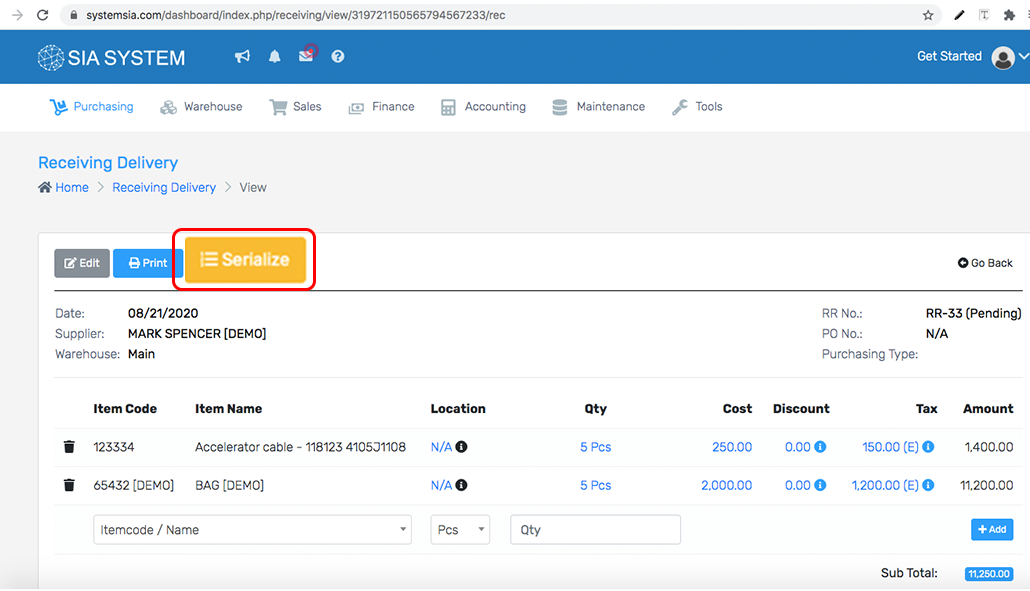
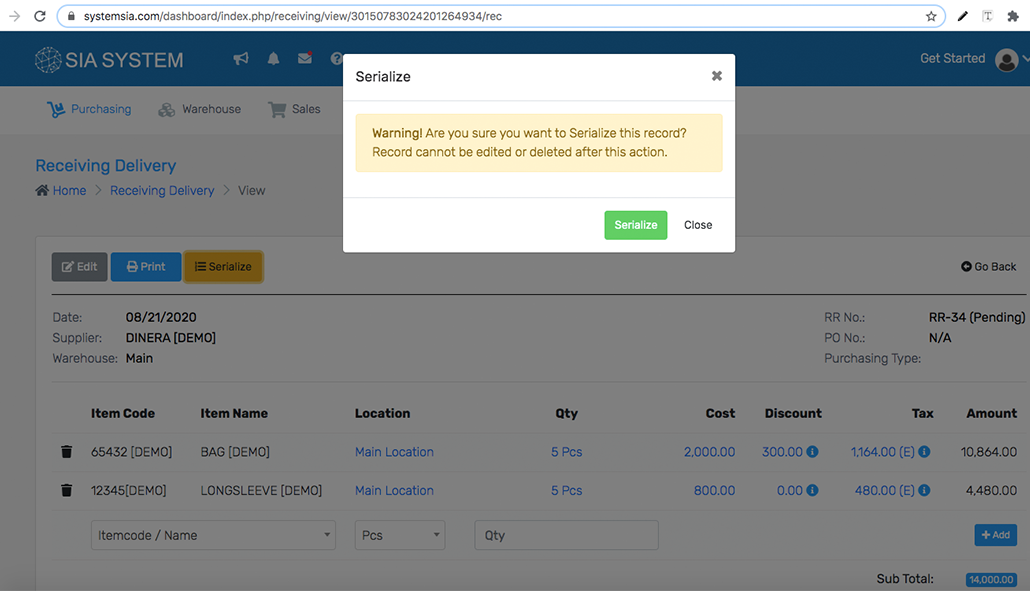
4. To Serialize item, Click Serialize button then click serialize. Once done Click View SKU.
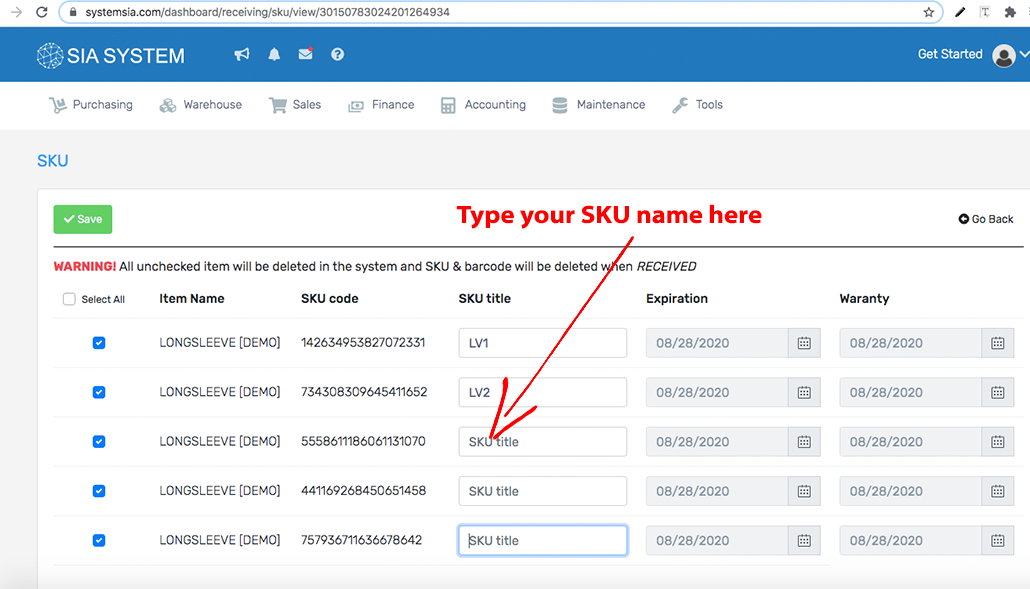
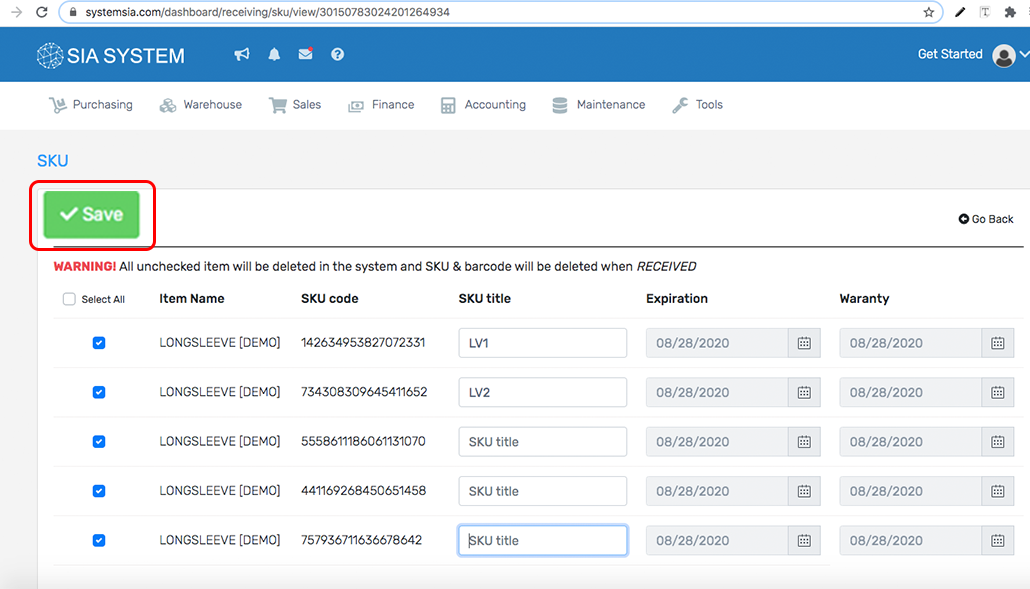
5.SKU number is autogenerated, manually input your SKU name in SKU title and Select Expiration and warranty if you have one. Once done click Save button and Click the receive to add quantity to your stock.
6. Review the item, once done click receive button to finalize receiving.
To start managing SystemSIA, let’s start by adding a Customer list to SystemSIA. This can be done by importing a csv file to SystemSIA. If you don’t have a spreadsheet with all your Customers, you can manually create your customer in SystemSIA. Click here to know how to create customer manually
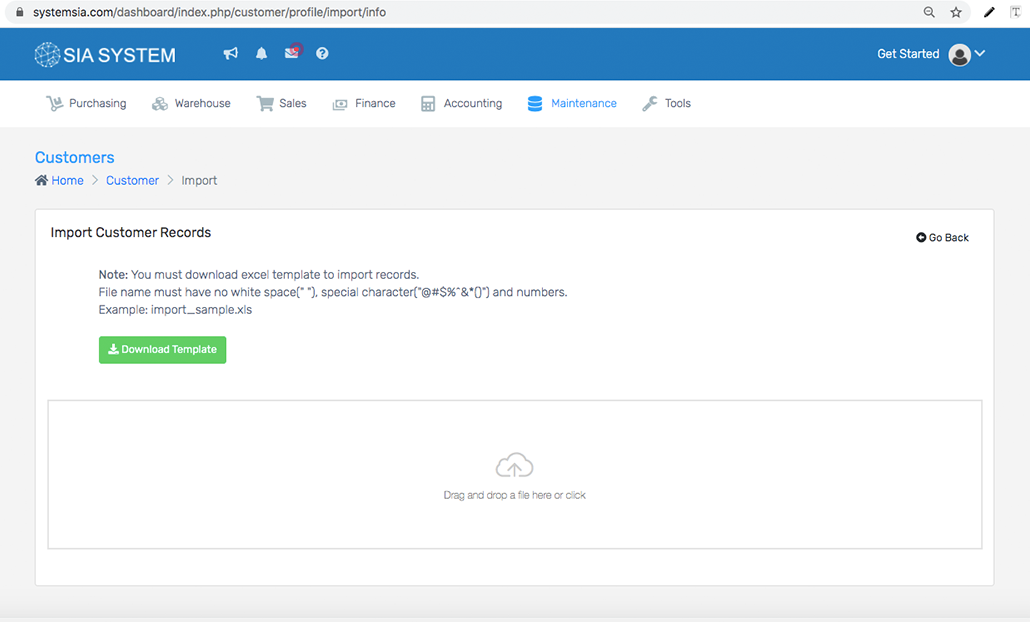
If you haven’t downloaded the template from SystemSIA directly, then download this csv template to quickly import customer to SystemSIA. If you already have a csv file with your customer, you can format that file to look like this template for easy importing.
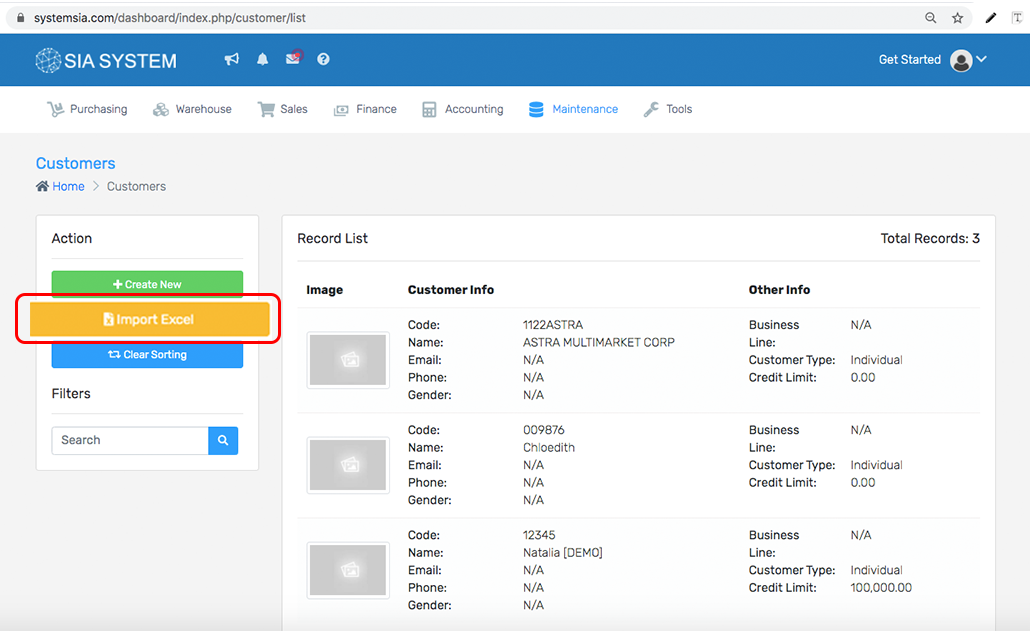
1. Go to Maintenance, select customer, and click import Excel.
2. Click the arrow to find the csv file from your computer or drag and drop your file. Then click Save.
Take a look around
Now that SystemSIA has some customer it’s time to get familiar with viewing your products in SystemSIA
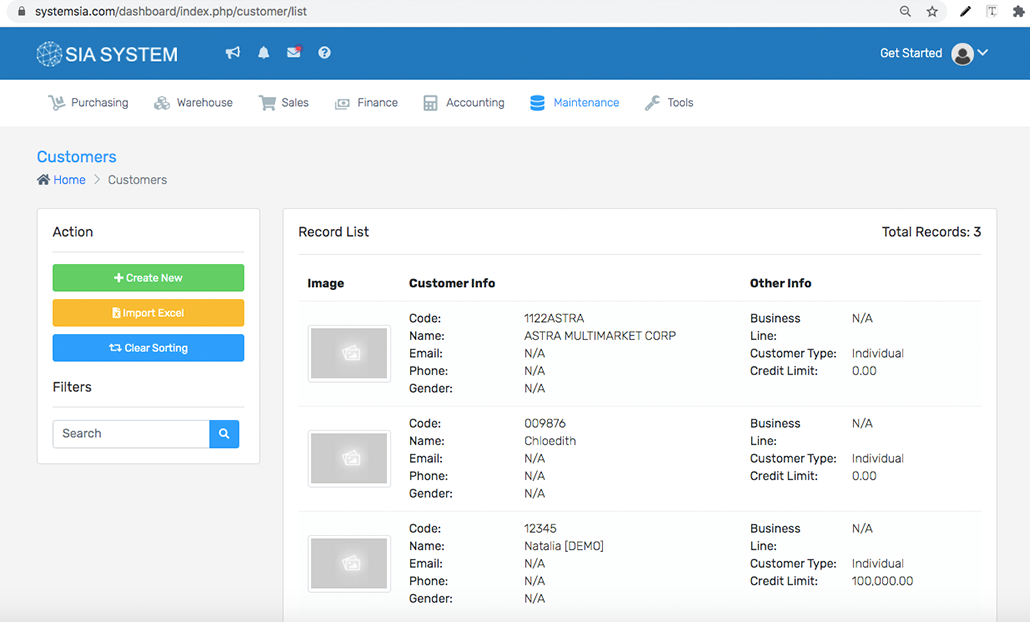
1. On the Homepage, click on Maintenance goto Customer
2. Here you’ll notice all the information from your csv is populated onto the customer record. Click on any of your Customers in this list to see more details.
If you imported your products and Customer from the Setup products and Set up Customer section of this guide, you can now create your sales order .To create your first Sales Order, follow the steps below.
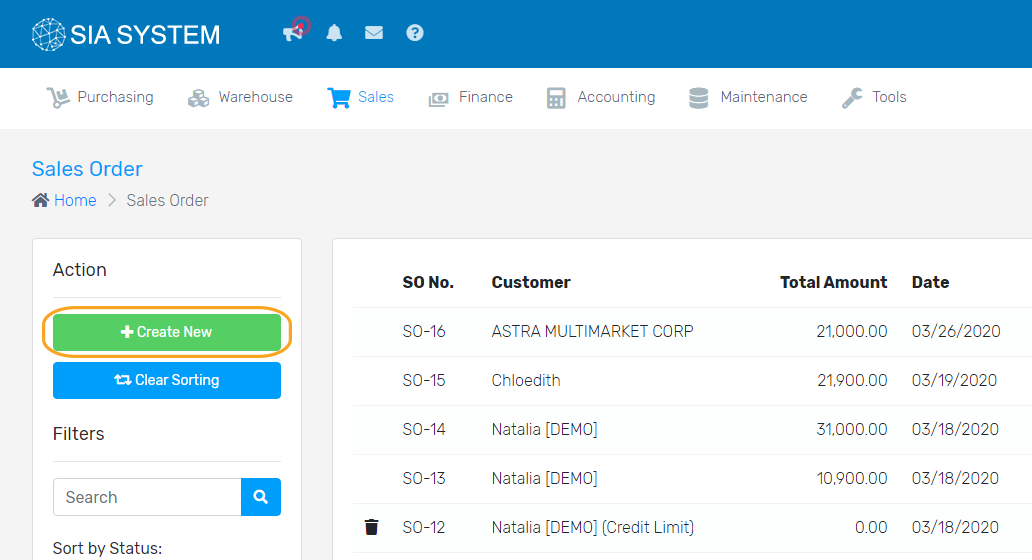
1. Look for the Sales menu, select Sales Order, and click Create New button at the Action section on the left side.
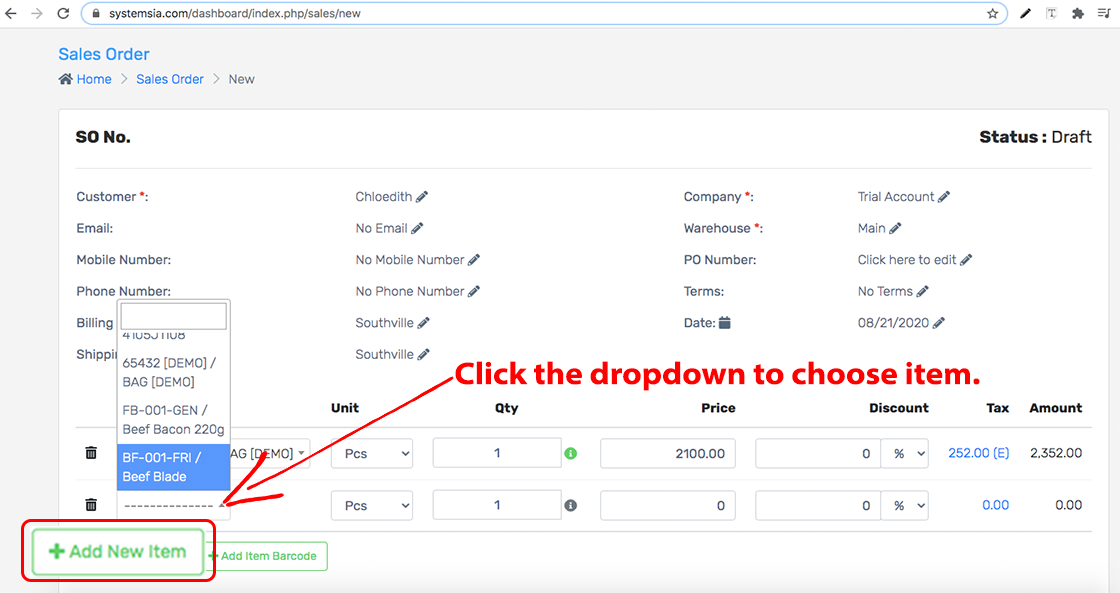
2. Click to create new and Select the required details, Customer, Company, and Warehouse. Once done, you can now add a product.
Congratulations! You’ve just taken the first step to organizing your inventory with SystemSIA. Now that you’ve started your trial, you can follow this guide. It will help you get the most value out of SystemSIA in the shortest amount of time.
Importing your products to SystemSIA
To start managing your inventory, let’s start by adding a product list to SystemSIA. This can be done by importing a csv file to SystemSIA.
If you don’t have a spreadsheet with all your products, you can get in touch with your vendors/suppliers to see if they can send one to you. From there you can make a few changes to match the import template we have below.
1. If you haven’t downloaded the template from SystemSIA directly, then download this csv template to quickly import products to SystemSIA. If you already have a csv file with your products, you can format that file to look like this template for easy importing.
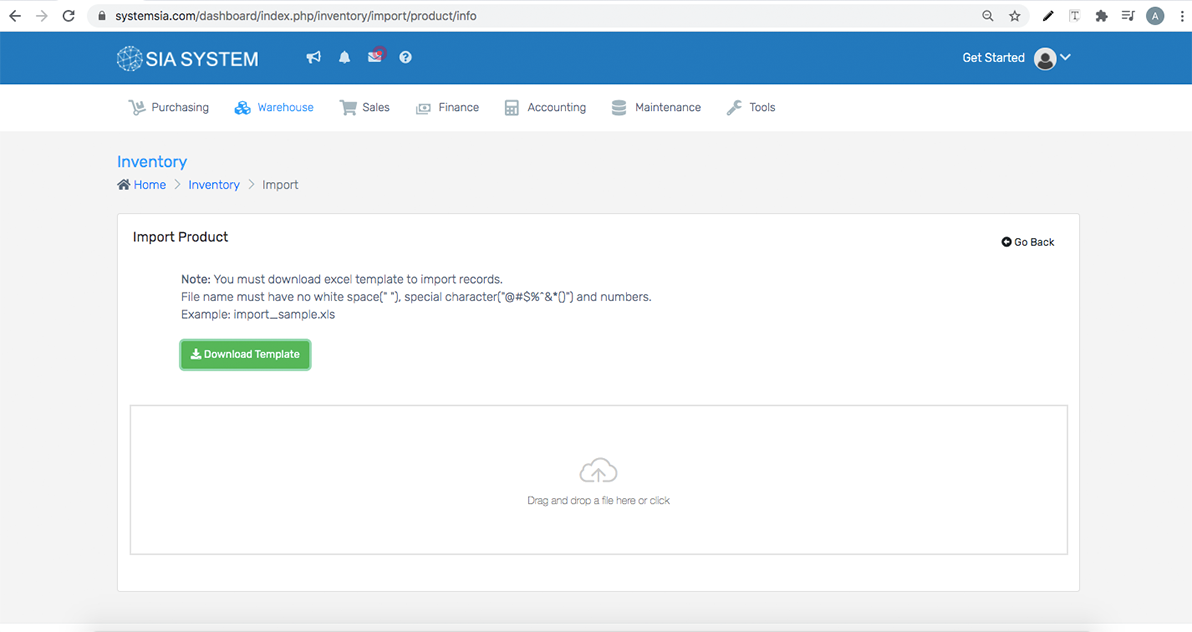
2. Go to Warehouse, select inventory and click import Excel.
3. Click to find the csv file from your computer or drag and drop your file. Then click Save.
Take a look around
Now that SystemSIA has some products, it’s time to get familiar with viewing your products in SystemSIA
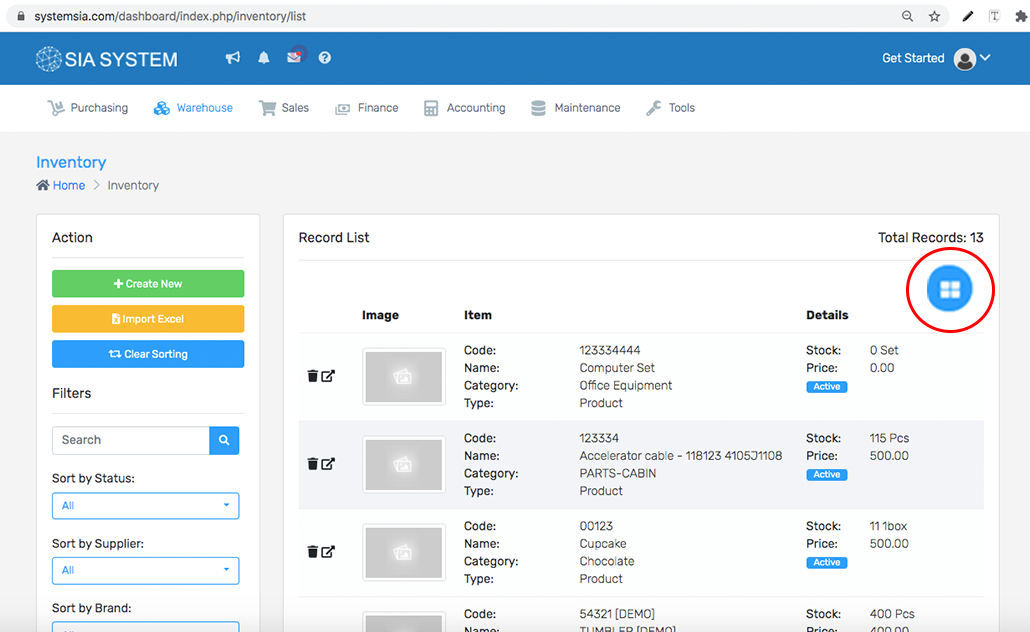
1. On the Homepage, click on Warehouse goto inventory.
2. Click on any of your items in this list to see more details.
3.Here you’ll notice all the information from your csv is populated onto the product record. If you think you’ll be interested in being alerted when you’re low in stock, you can edit the item and add a Critical limit and Reorder Quantity.
4.To view the product list in full screen again, click the blue circular symbol at the upper right.
The purchase order is an official document that can be created only for one supplier. In SystemSIA you can create a purchase order and purchase requests and manually.
When your products are on a critical level, you can now purchase new stock.
In order to create a purchase order manually, follow the next steps:
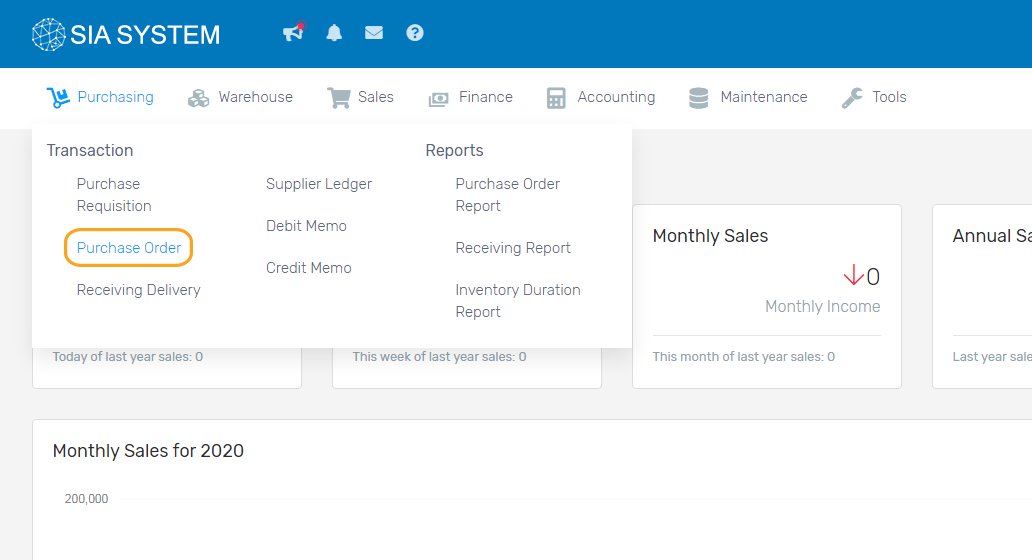
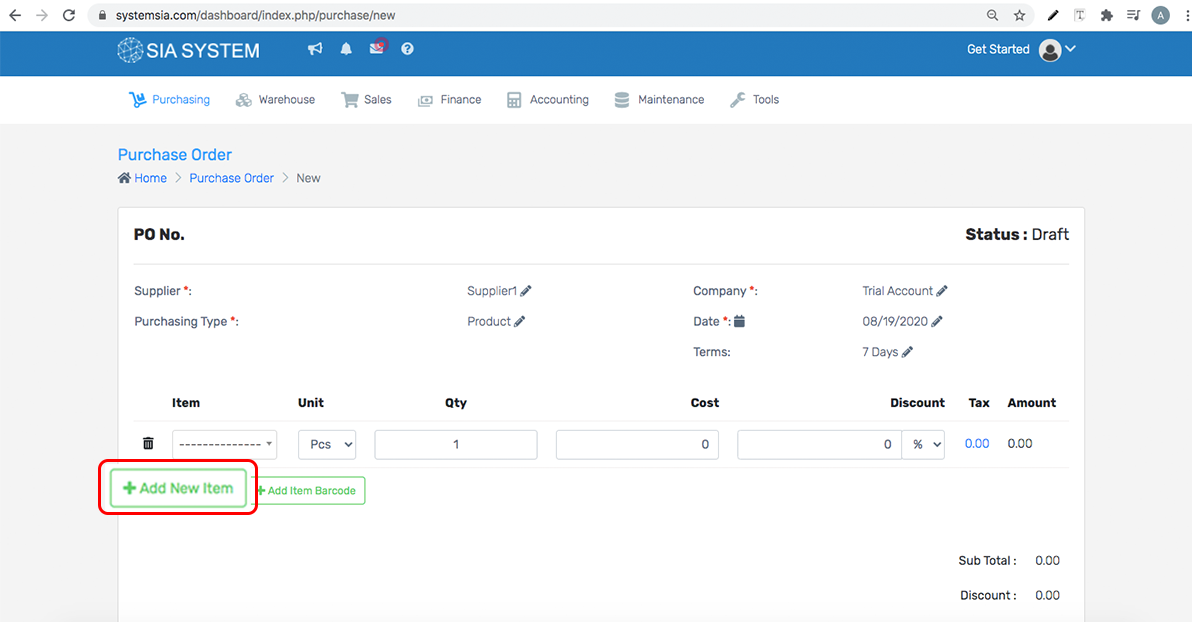
1. Goto Purchasing and select purchase Order
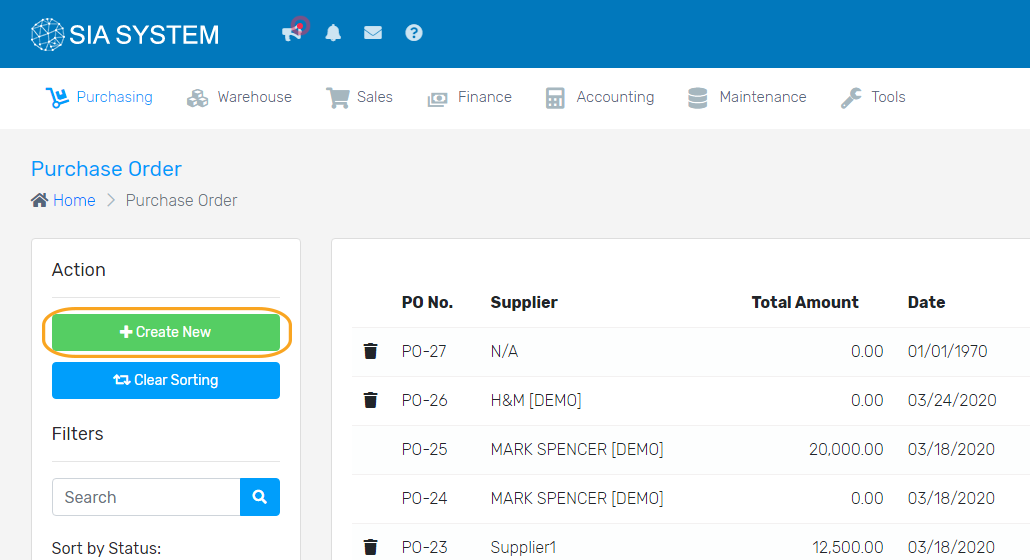
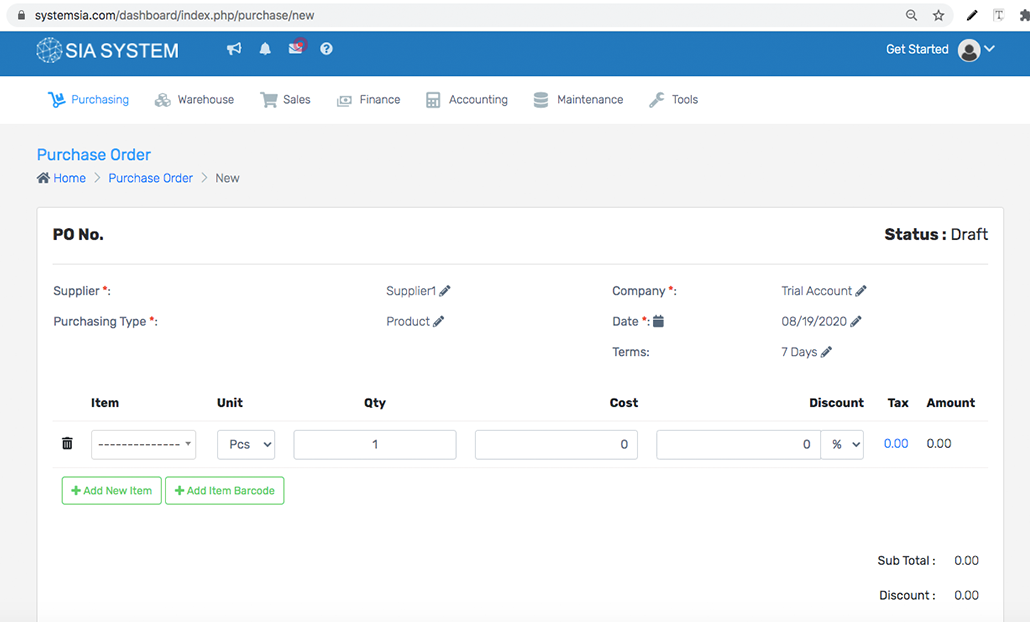
2. Click create new button and select required details, Supplier, Purchasing type, Company, and Date. Once done, you can now add a product.
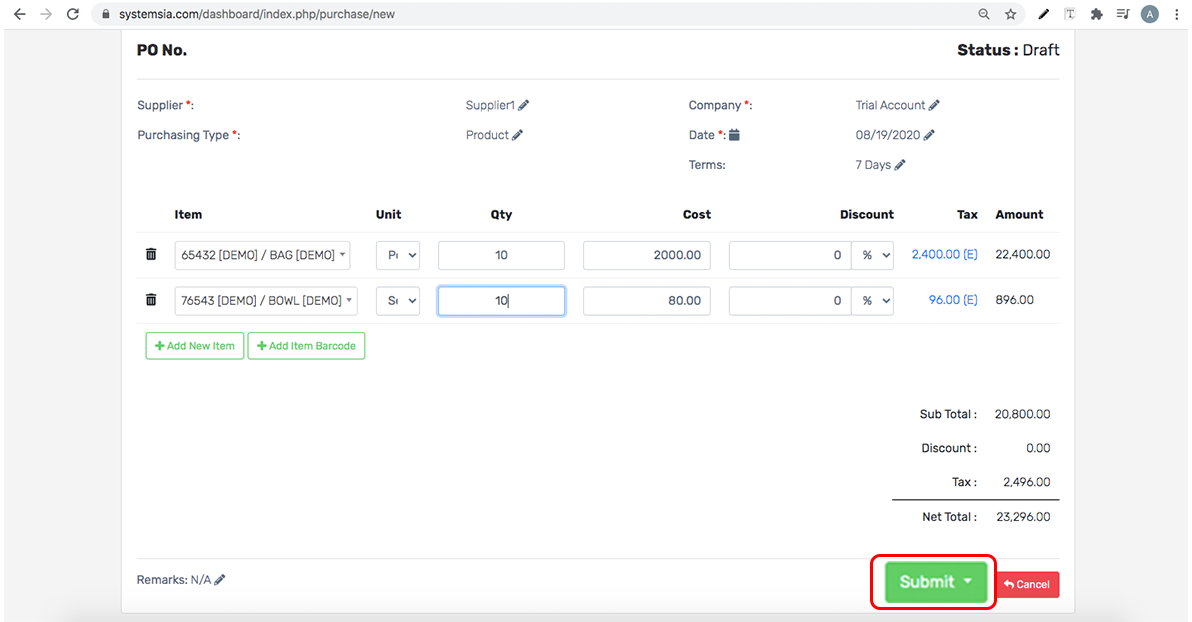
3. Click Add new item button to add items to your order. Once done, click dropdown and select item to purchase.
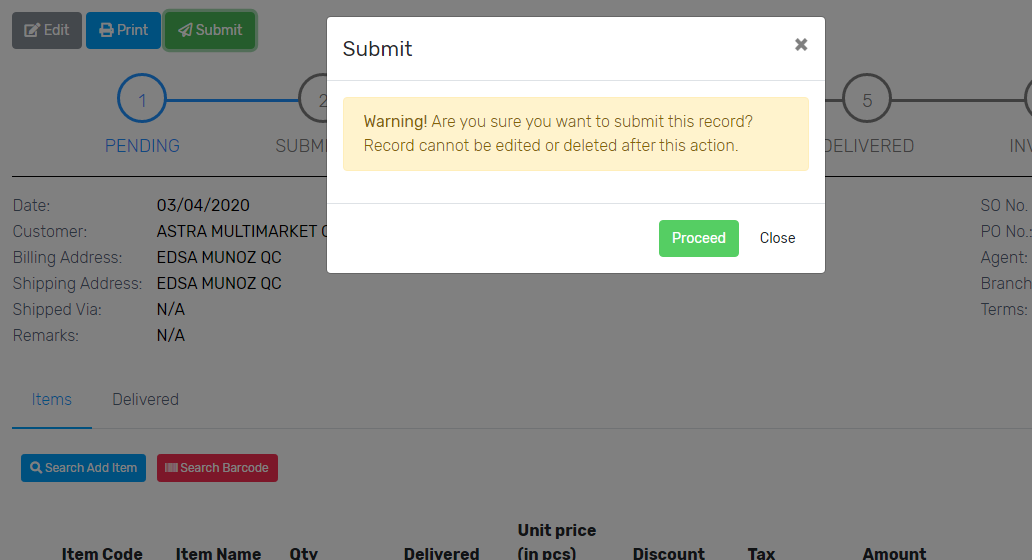
4. Once done click submit.
How to track Purchasing
Look for Purchasing, select Purchase Order,
Choose the purchase order that you want to check.
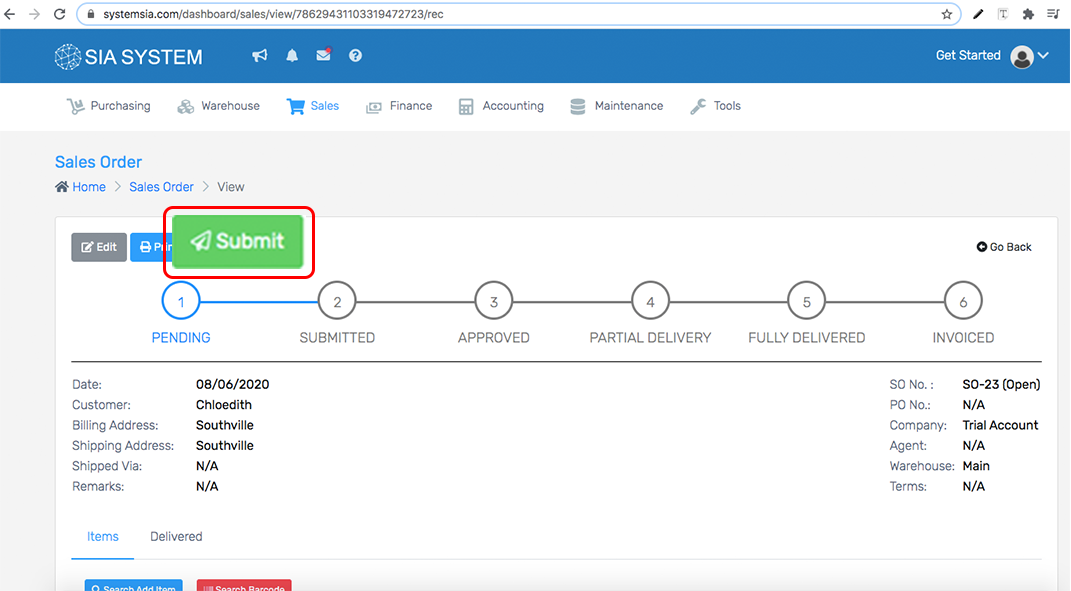
At the Upper details of your purchasing details you can view the status of your purchasing
Pending status means, that your purchase order hasn’t been submitted yet for approval.
Submitted status that your purchase order waits for approval by the responsible manager.
Approved status means, that your purchase order was approved by the responsible manager.
Partial Delivery status means, that your customer purchase order haven’t fully delivered yet.
Fully Deliver status means, that your customer purchase order is now fully delivered.
Note: If wish you to have an approver of your purchase click here to know how to create an approver