How to receive delivered items with Purchase Order

Adding of quantity to your inventory can be automatically done by receiving delivered items. This is also an accurate way of tracking of inventory. Once your purchases are delivered, you are now ready to receive the items.

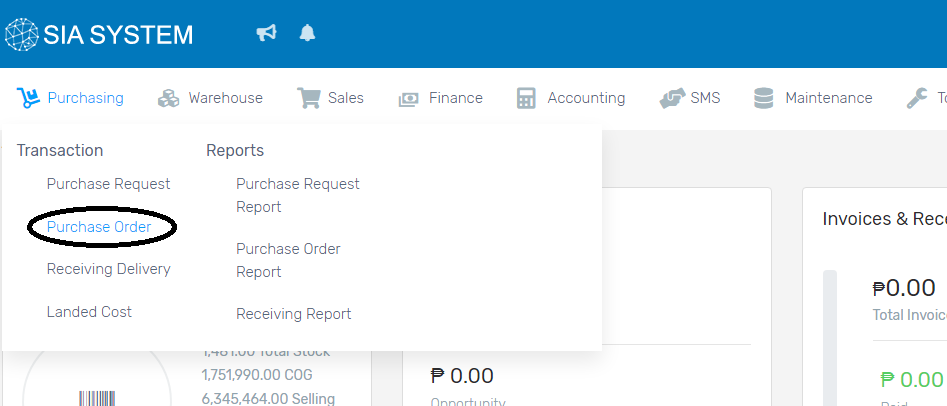
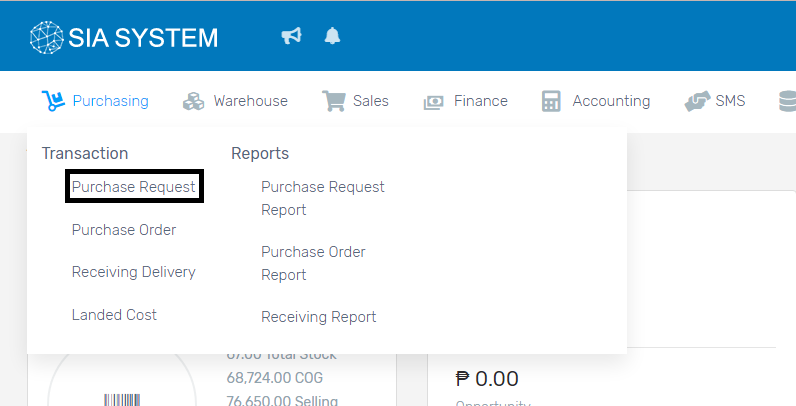
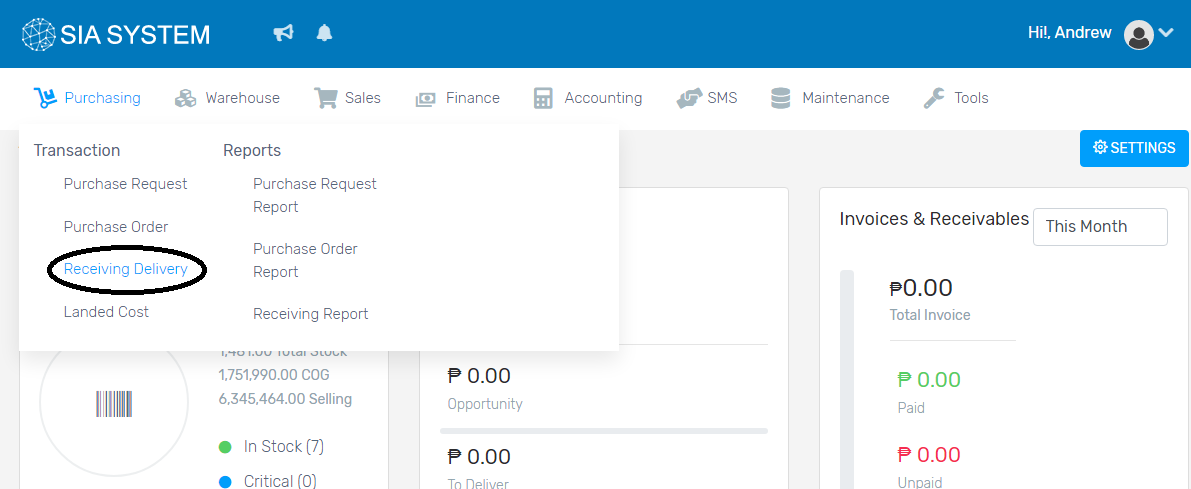
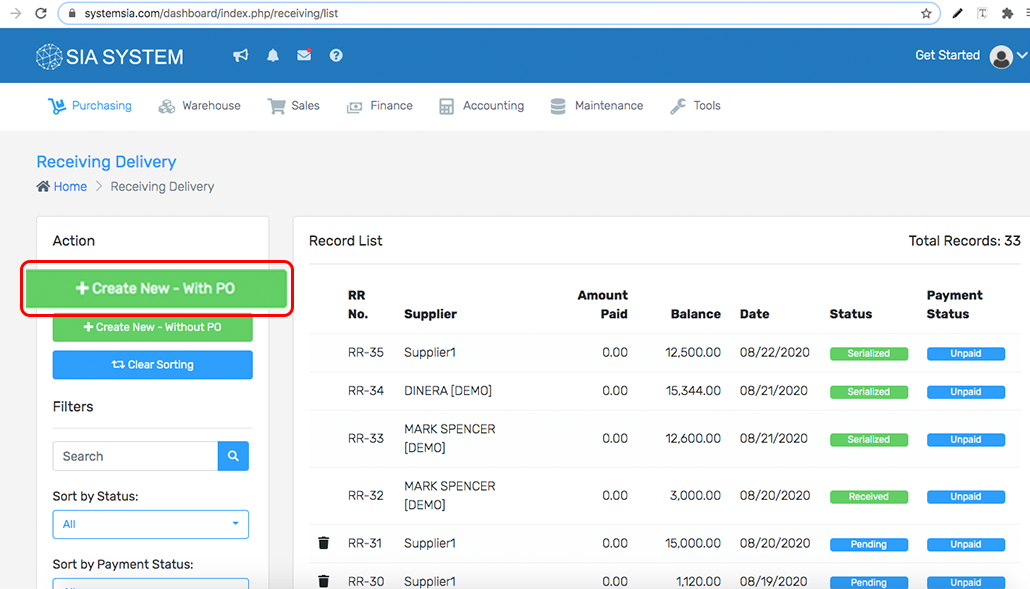
1. On the menu, click Purchasing and select Receiving Delivery.

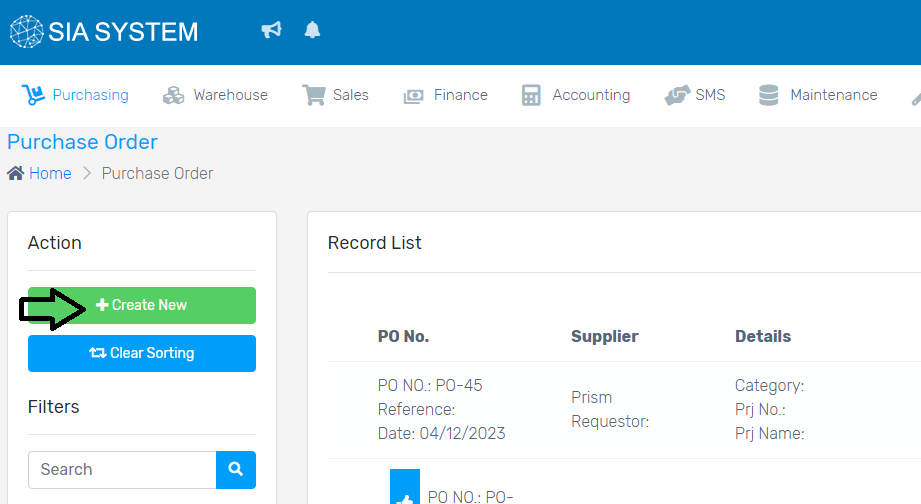
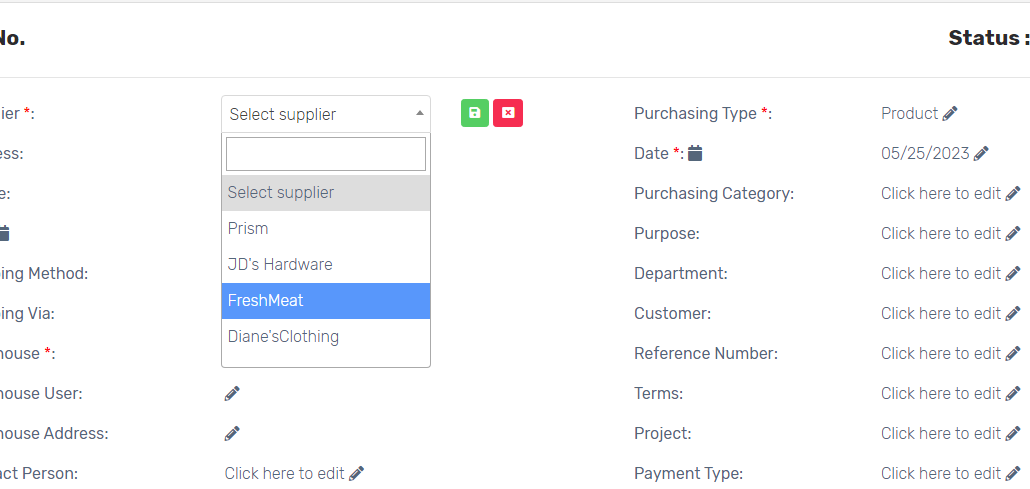
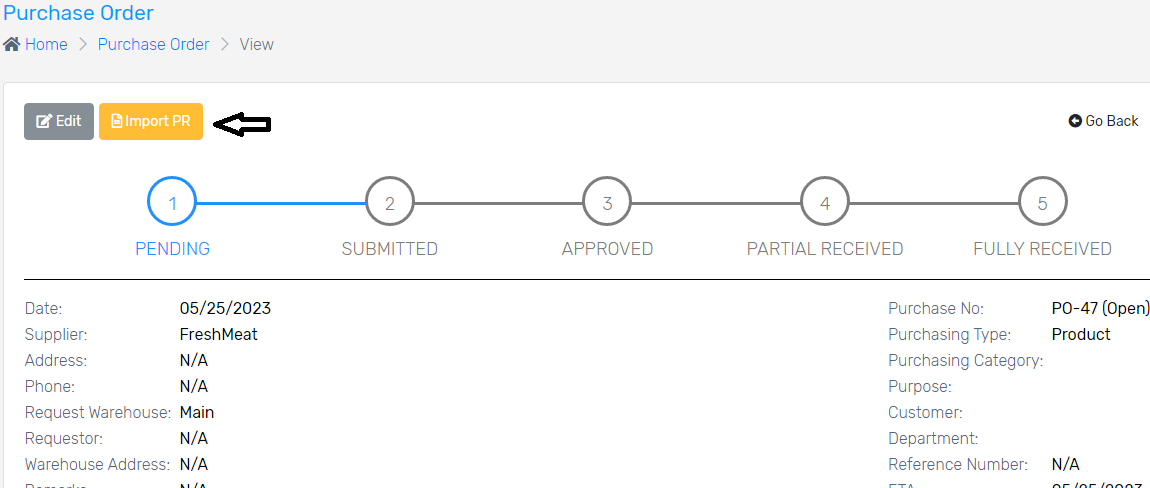
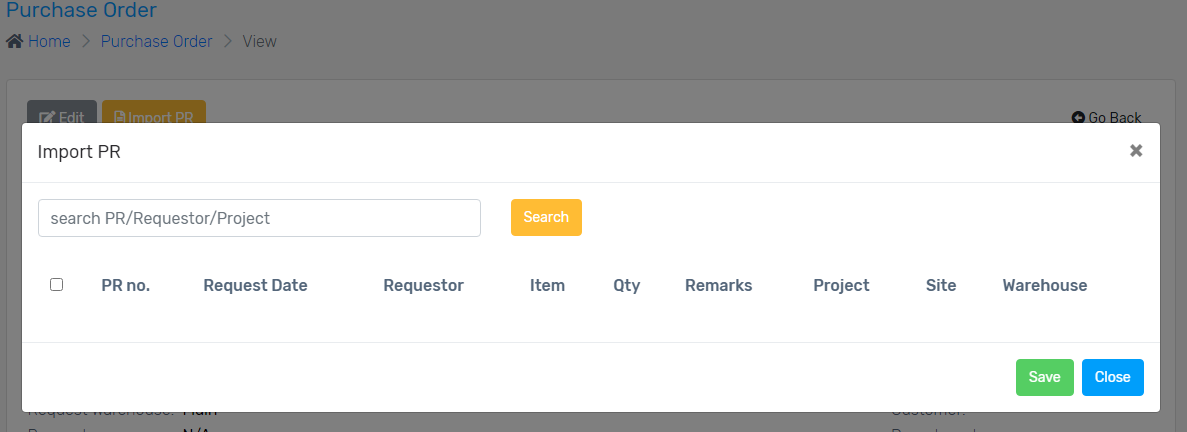
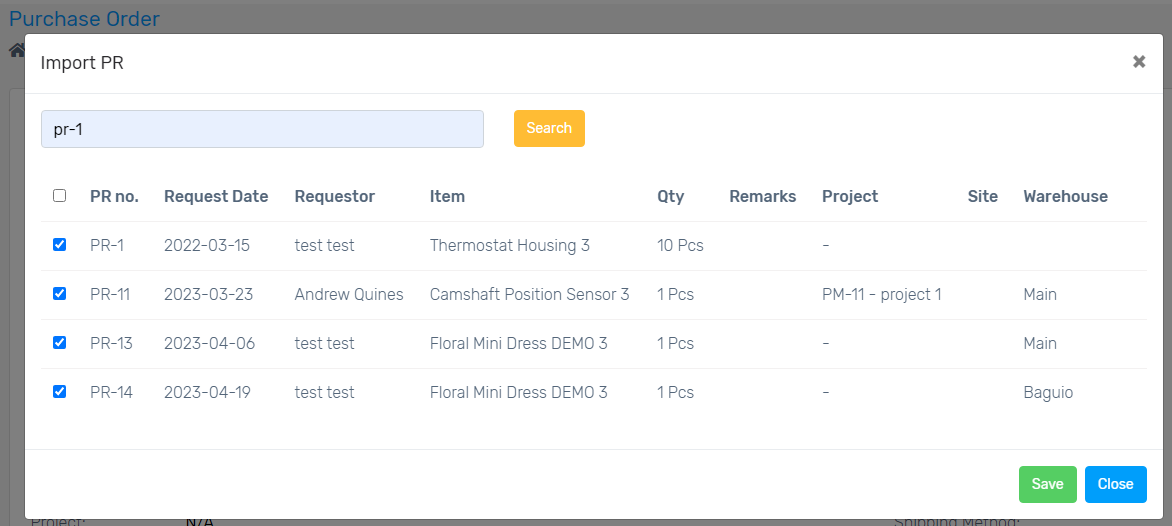
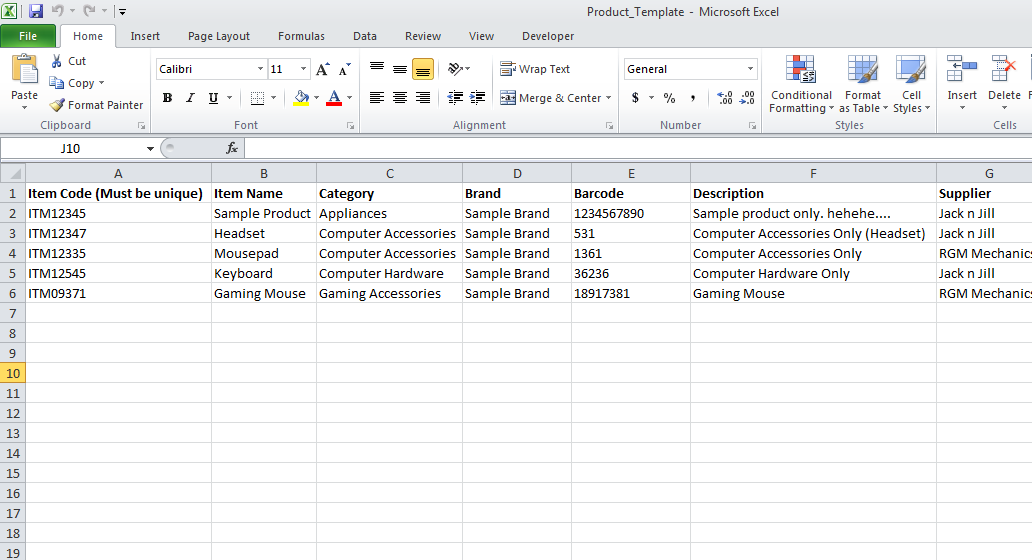
2. Refer to the PO of the delivered items if it contains a purchase order. Click IMPORT WITH PO. In the new tab, choose the Vendor and Warehouse then save. Other details should be filled out manually, if necessary.

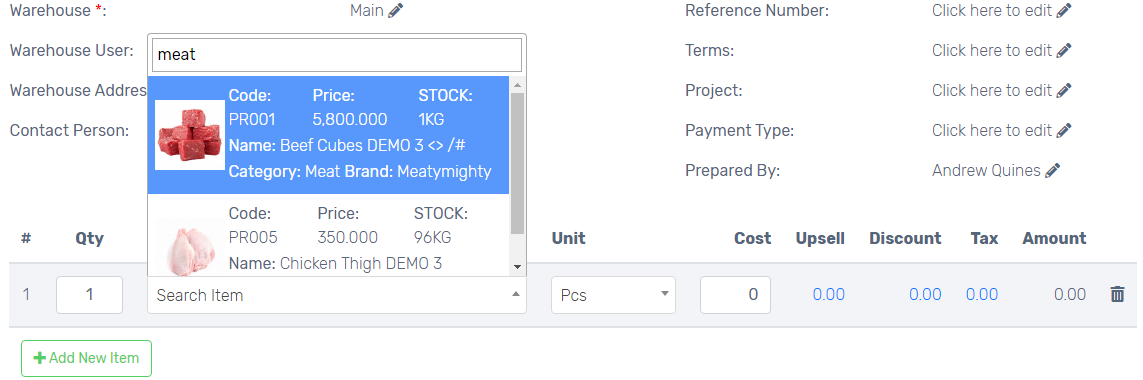
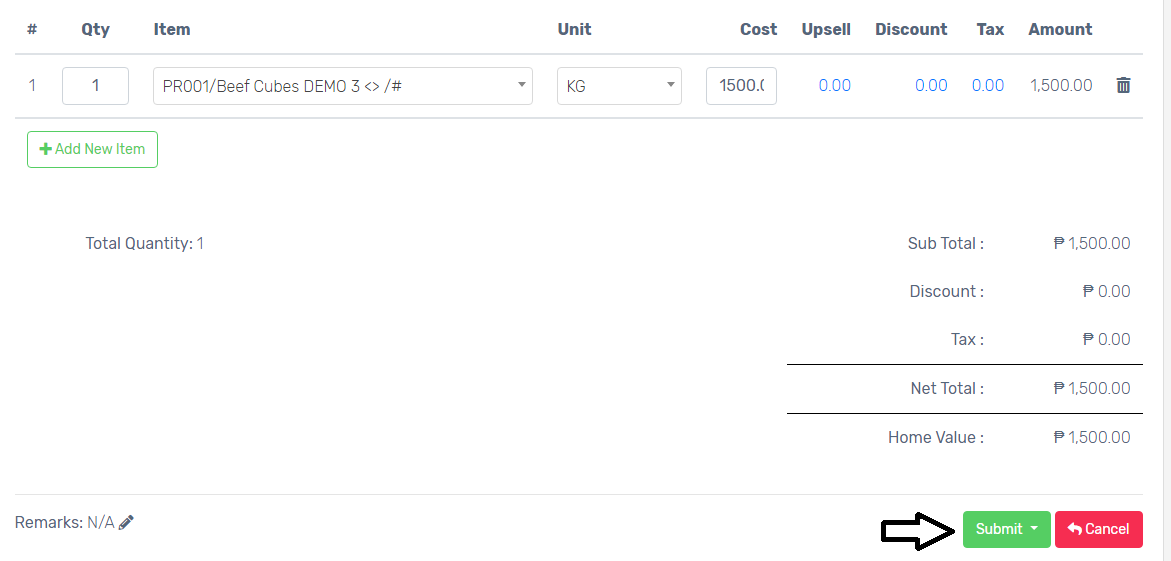
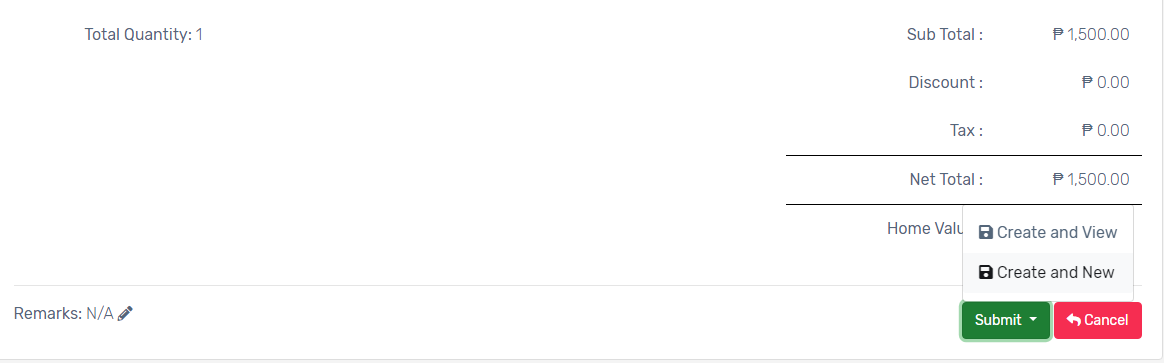
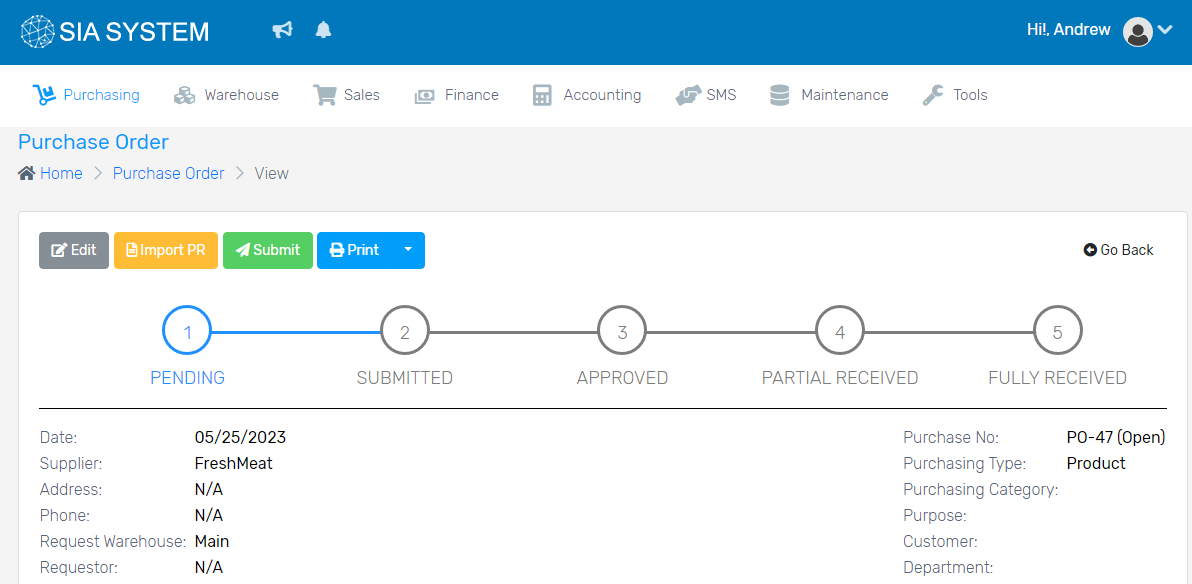
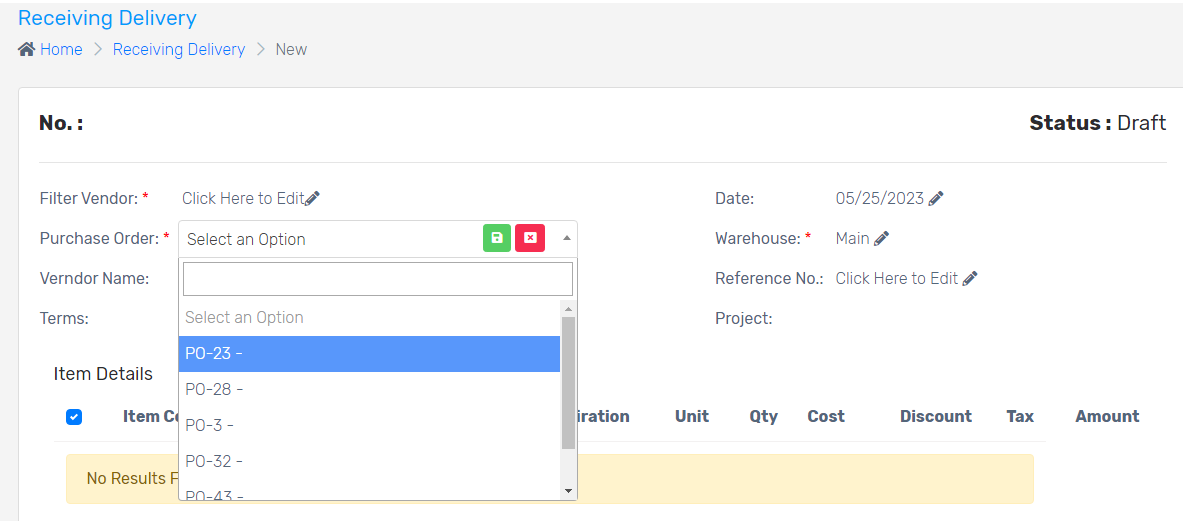
4. Click on the Purchase Order tab. Select the PO form the dropdown then make sure to save. The items from the PO will then automatically show. Check if all the items are delivered with the right quantity, then just click Create.

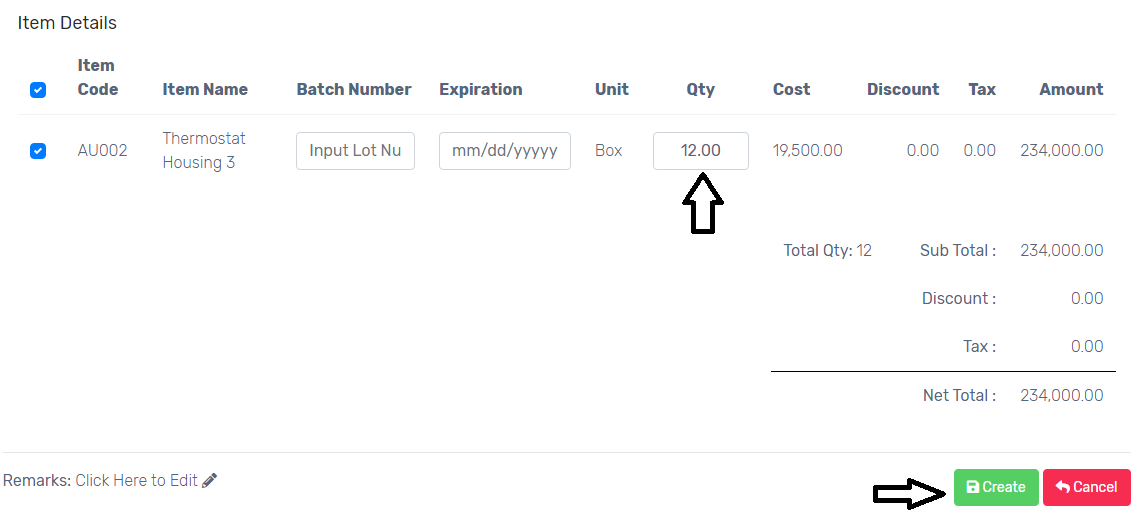
5. If the items are partially delivered, just tick that items and manually input the quantity received. Once done, click Create.

6. On the new tab, check carefully the items before you proceed. Once cleared, click Receive to finalize the delivery, then Proceed.

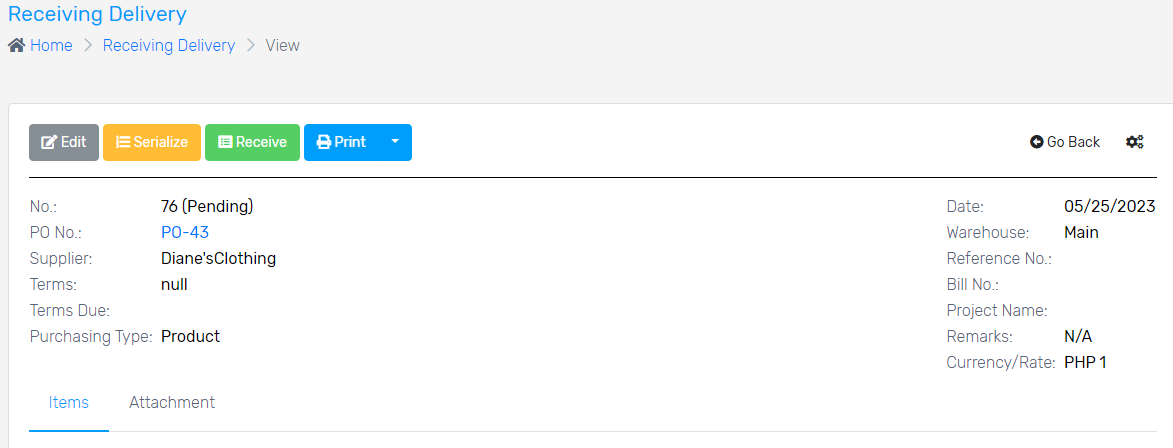
7. If you wish to print the RECEIVING DELIVERY, just click PRINT.

Next Step:

Note: After clicking Finalize, the quantity will be automatically added to your stocks.


Was this article helpful ?

[yasr_visitor_votes null size=”–“]

Have more questions ? Submit a request

How to create purchase order

Control the purchasing of products and services by creating an official document. Purchase Orders can be created directly or created from an approved Purchase Request. The difference between a purchase order and a purchase request is that, the latter needs permission, while purchase order is a document outlining the details of the actual purchase.

Note:

  • In order to create a Purchase Order, products must be encoded in the system. If you have not encoded products yet, follow our instructions on How to setup a product record.
  • For a secure process, approval of orders is implemented but is optional as well. If you have not encoded approvers yet, follow our instructions on How to setup an approver.

How to create a Purchase Order

1. On Purchasing menu, click Purchase Order.

2. Click the Create New button.

3. Click and select the name of the Supplier. Remember to also click the save button or the green image every after choosing.

4. Other details will be automatically shown once you edit all your vendor’s info in the VENDOR section, on the MAINTENANCE tab. Otherwise, manually input all the necessary details.

5. Search the item, manually put the Quantity then select the Unit. The Cost of the item will then be automatically shown.

6. Once done, click Submit.

7. If you happen to forget an item, you can still add it on the VIEW mode. Note that the purchase order won’t push through if you did not click the SUMBIT button.

8. After checking, you may want to submit your PO. Just click the Submit button.

If a purchase request has been previously created, just follow these following steps.

  1. Click Create New button.

2. Make sure to select the supplier from the dropdown.

3. Click the arrow down in the SUBMIT button, then click CREATE AND VIEW.

4. Click the IMPORT PR button, and search for the PR number, then Save.

5. If you want to create purchase order with multiple PR, just search for the PR number. Tick all the PR you want to add, then Save.

6. Once done, click the Submit button.

Note: If your process requires approval, the Purchase Order will be pending. Wait for it to be approved to proceed.


Was this article helpful ?

[yasr_visitor_votes null size=”–“]

Have more questions ? Submit a request

How to request items to purchase

To ensure the importance and correctness of every purchase to be made by the department, a request of the orders can be created for approval. A purchase request is a list of what you want to buy or order.

Note:

  • In order to create a Purchase Request, products must be encoded in the system. If you have not encoded products yet, follow our instructions on How to setup a product record.
  • For a secure process, approval of requests is implemented but is optional as well. If you have not encoded approvers yet, follow our instructions on How to setup an approver.

How to Create a Purchase Request

1. On the Purchasing menu, select Purchase Request. 

2. Click Create New button on the action section.

3. Fill out all the necessary details, especially those field marked with *. 

4. Select the items you want to request from the dropdown, input the quantity and click Add button. Note: You can add items from different suppliers in one request.

4. If you want to add another item, just repeat the steps 1 to 3.

5. Once done, click the SUBMIT button.

That’s it! Click GO BACK and check the status of your purchase request. 

The Purchase Request has 4 statuses:

  • Pending – unresolved item
  • Submitted – submitted for approval if there are approvers Note: If you have not encoded approvers yet, kindly follow the instructions on How to setup an approver.
  • Approved – approved items will be included in the Purchase Order
  • Disapproved – not approved

Note: One Purchase Request with different suppliers will be separated to different POs per supplier.

Once approved, you are now ready to create a purchase order.


Was this article helpful ?

[yasr_visitor_votes null size=”–“]

Have more questions ? Submit a request

How to Create Customer Record(s)

For better tracking, customer record(s) should be saved in the system with their complete details.

  1. On the menu, click Maintenance and select Customers.

A. Creating a customer record(s) one at a time

1. On the Action section (left side), click the Create New button.

2. Input each customer record with their information, especially those field marked with *.

3. Input the Address Information.

4. Input Other Information.

5. After filling out all the fields, don’t forget to add a contact person. Click Add Contact Person and input all the necessary details of that contact person.

6. Once done, click the Save button. Repeat the process for the other customers.

B. Creating customer record(s) by batch upload

If you have a number of customer records that needs to be set up, it’s better to use this way of importing.

1. On the Action section (left side), click the Import Excel button.

2. Click the Download Template button. Make sure to follow the template to match with the system.

3. Open the Excel templates, fill up the fields, and save on your computer.

Note: Make sure that the Customer Codes match in the three templates for a specific Customer.

4. Go back to the system, click Select File and select the Excel file you saved.

5. Wait for the file to upload.

6. Click Save once done.


Add system users

Add different system users for different departments. This will help in making a quick and accurate process.

1.On the menu, click Maintenance and select Staff.

2.Click the Add button

3. Fill up the Personal Information. Note: Special characters are not allowed in any information of the user.

4. Fill up the Contact Information.

5. Fill up the Account Details. Click the Save button.


Was this article helpful?

[yasr_visitor_votes null size=”–“]

Have more questions ? Submit a request

How to set-up system access control

Ensure the safety of your data and use of the system. Setting up a schedule of access use will double the security of your system.

1. On the menu, click Maintenance and select System Access.

2. Click the Create New button.

3. Type in the Group Name and Description. Tick whether to have an ISOLATED RECORD or not. Click the Save button.

4. On the lists of system access, you can click a button where you can edit, enable access and edit schedule.

5. In Access Setting, select access to ENABLE or DISABLE. Click Save Changes when done.

6. In Edit Schedule Setting, tick the day of access availability. Select the start time and end time the access can be used. Click Save Changes once you’re done.

5. Click save changes.

Setup system access control

Control your users accesses for a more secure and safe transactions. This is advisable to setup for different departments.

1. On the menu, click Maintenance and select System Access.

2. Click the Add button.

3. Input the Name and Description.

4. Click the Save button.

5. Select access to Enable or Disable.

6. Click Save Changes.


Was this article helpful?

[yasr_visitor_votes null size=”–“]

Have more questions ? Submit a request

How to set-up terms

Setup terms for your payables and receivables. Track these transactions for a better cash flow. Payment terms provide clear details about the expected time the payment should be made, whether it be on a sale or purchase.

1. On the menu, click Maintenance and select Terms.

2. Add your payment terms by clicking the Create New button.

3. Input the Name and the Days. Click Save once you’re done. Repeat the process if you have multiple payment terms.


Was this article helpful?

[yasr_visitor_votes null size=”–“]

Have more questions ? Submit a request

Create product record(s)

Products can be added in SIA in two ways:

One at a time – Use this approach if you have a limited number of products.

Batch upload – Import your product details all at once by using our Excel template.

On the menu, click Warehouse and select Inventory.

How to setup a product record one at a time

1. On the Action section (left side), click Create New button.

2. Fill up the product details. On the Image field, click the grey square to upload a photo.

3. Input Item Code and Item Name. Note: Item Code and Item Name must be unique.

4. Select category. If the category is not on the list, click Add New Category and type the category you want to add. Note: Group your products into distinct categories. This might help you in organization and analysis.

5. Select a Brand. If the Brand is not on the list, click Add New Brand and type the brand you want to add.

6. Type in the Barcode and Description.

7. Select Supplier and Unit. Note: The unit is what term you use to measure the quantity of your product (Example: Pcs, Kg, Box)

8. Input the Current Quantity, Cost, Price, Reorder Quantity, and Critical Limit. Note: Reorder Quantity is the quantity when your item is needed to be reordered. Critical Limit is the critical level of your item’s quantity. Get notified before you go out of stock.

9. Select Item Type if Product or Service. Note: COGS Account is connected on your income statement. Tax type: If your item is VATable or Non VATable.

10. Select Active in Status to display the item. Note: Inactive status will not display the item for your transactions.

11. If you want to set expiration, tick Enable Expiry. Note: Adding of Expiration Date is upon receiving the item.

12. Tick Enable Group Price, if you have multiple pricing for different customers and input the prices for your item. Note: One group price of an item can be assigned to your customer. This is the amount they have to pay.

13. Click the Save button.

How to upload product records by batch

1. On the Action section (left side), click Import Excel button.

2. Click the Download Template button.

3. Open the Excel template, fill up the fields, and save on your computer.

4. Go back to the system, click Select File and select the Excel file you saved.

5. Wait for the file to upload.

6. Click Save once done.


Was this article helpful?

[yasr_visitor_votes null size=”–“]

Have more questions ? Submit a request